Thinking in 3D
This week I got my paws dirty, getting the foundations of our player model done in Autodesk Maya 2018.
A Small Setback
It’s worth acknowledging that unfortunately, we ran into the problem of securing a lab this weekend. This has set everyone back a days amount of work which sucks, we will have to make up for it somehow in the following weeks. It is problem that needs to be addressed immediately. On top of this, Adrian and I are booked for a Christmas trip away in Poland for two days on the week of our presentation which will take place on the week of December 9th.
The current situation is unknown as to whether or not this date will be moved to the Friday previous on December 7th, if so, that will make our situation quite rushed indeed. We will no doubt be stuck for time in making a playable prototype build of the game.
If there are more dates to be moved (such as CA exams), which seems likely, it leaves us with no choice but to cancel the short trip abroad.
Aside From This
Although I did not have the task of creating the player model completed this week, I can show you the design process I am following so far.
Image Planes
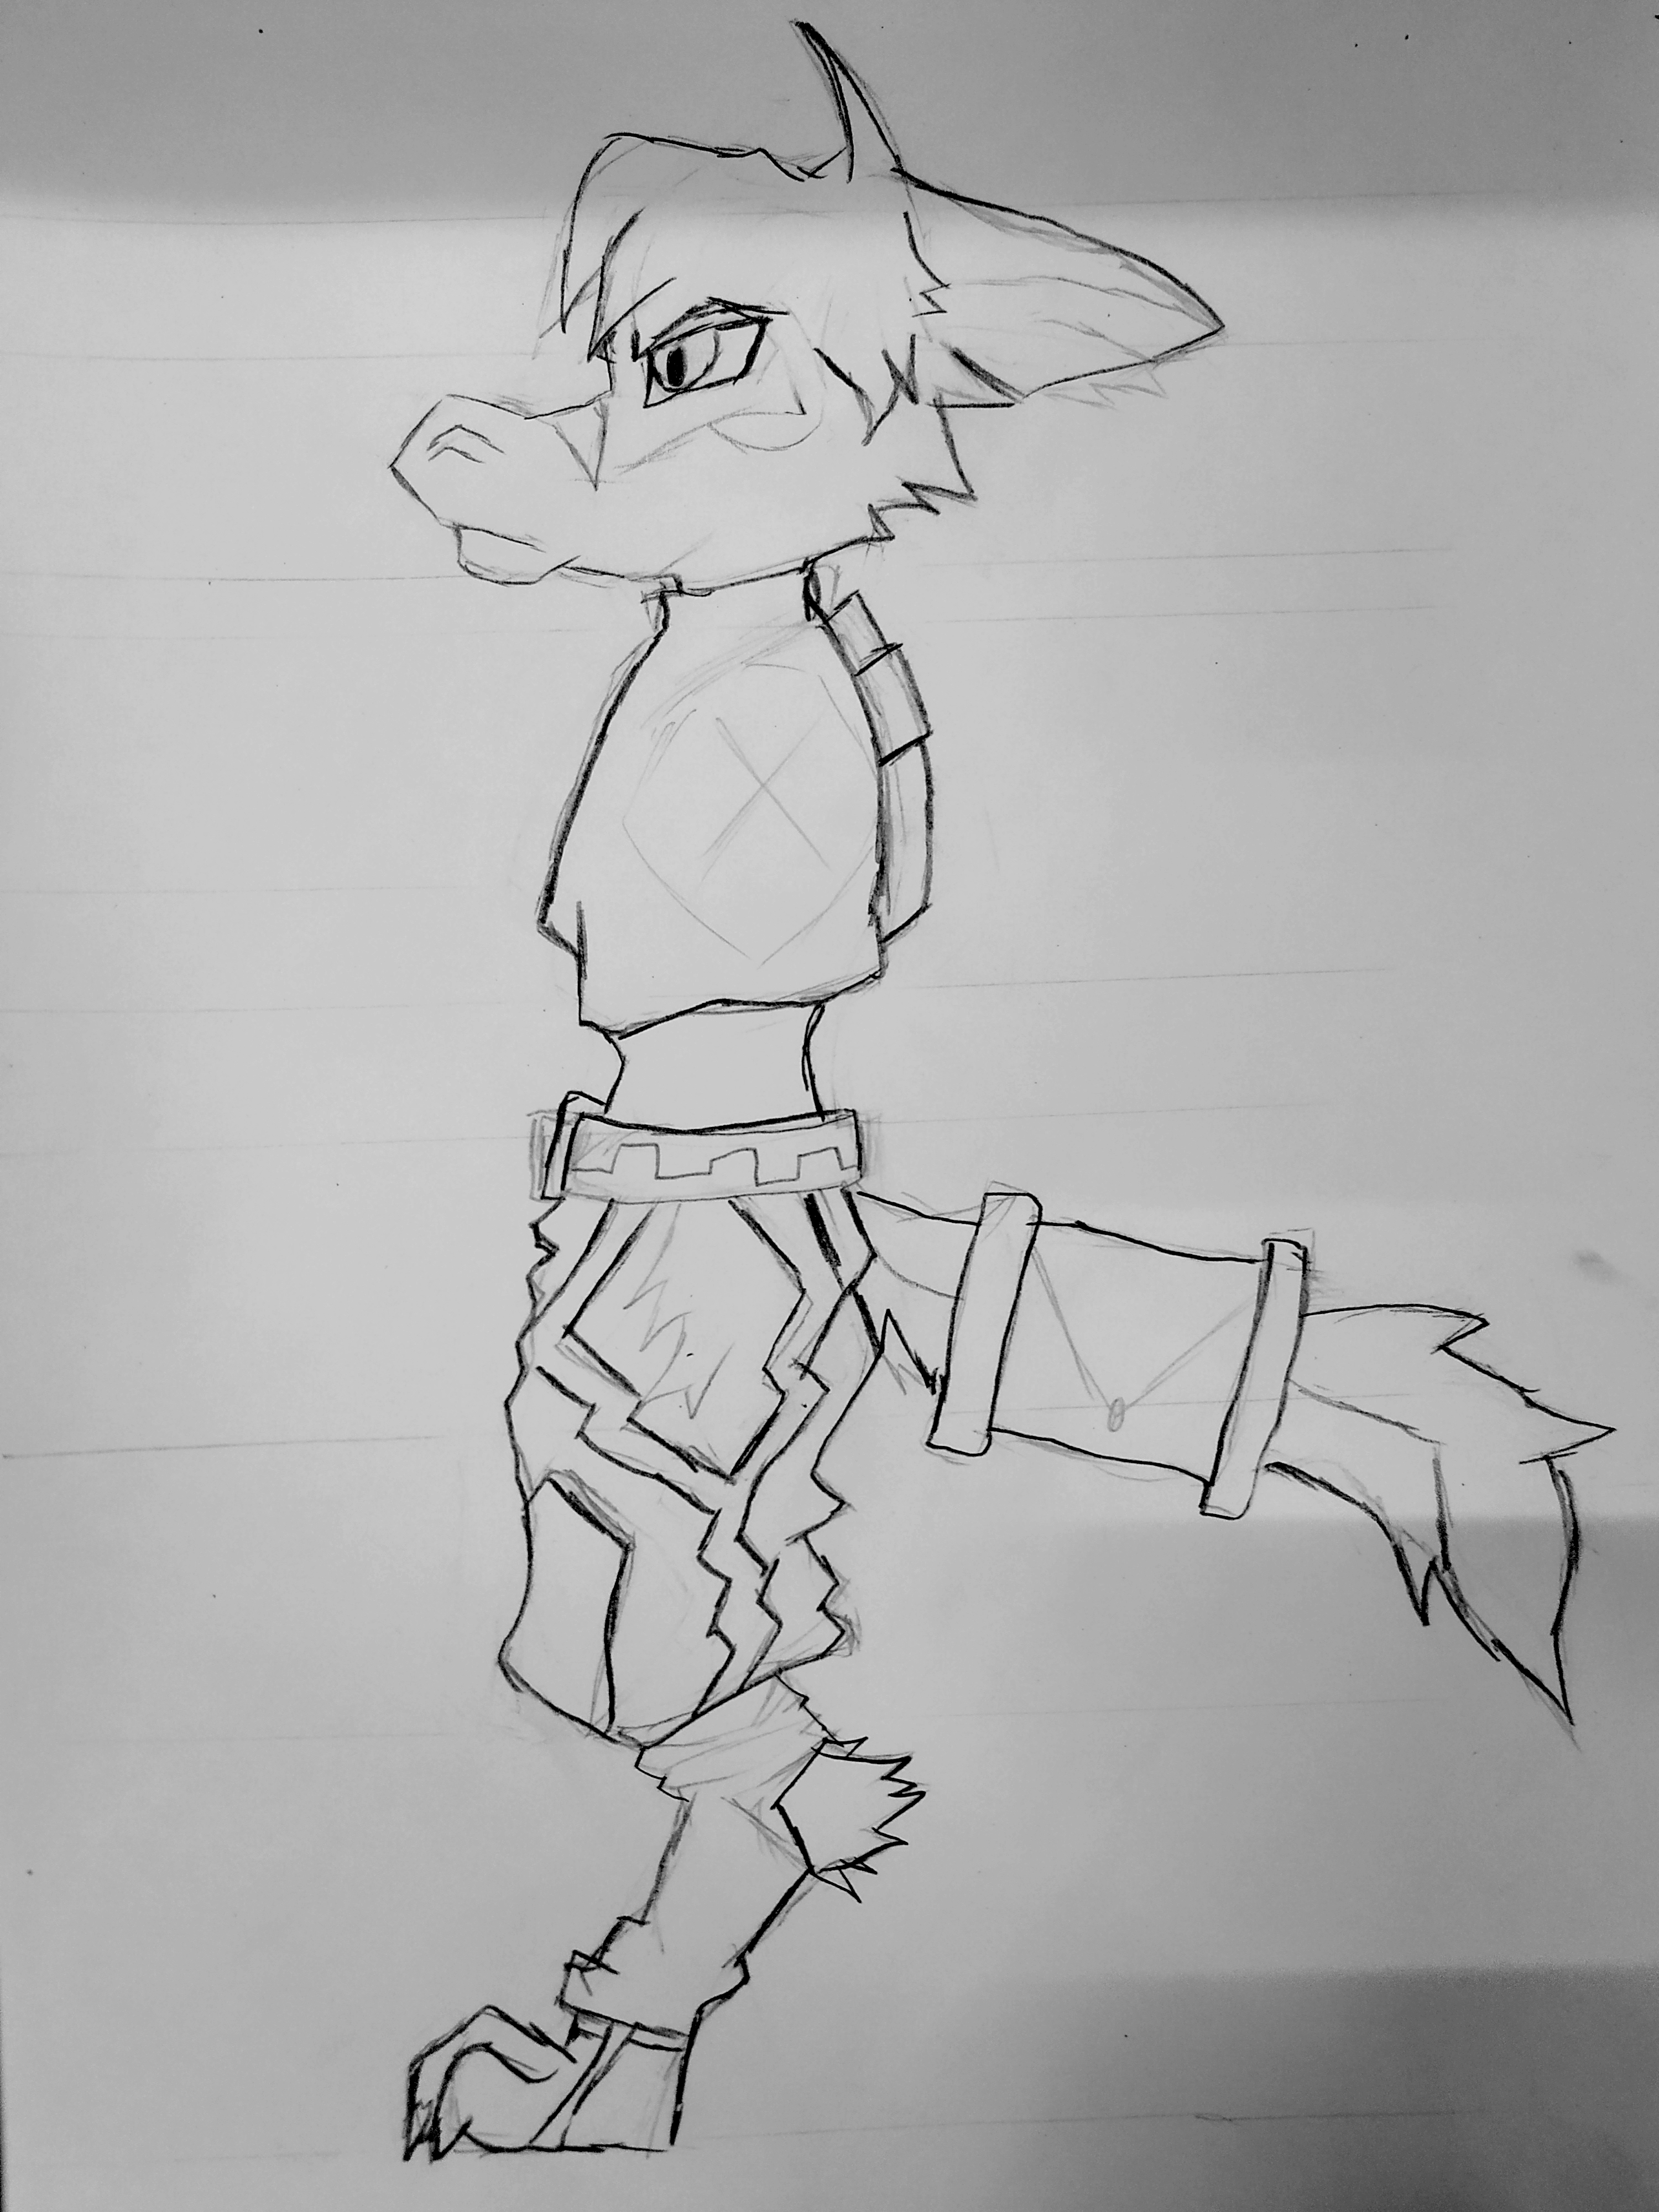
My method for creating the 3D model involved drawing A-pose sketches of the main character on paper. I then would bring these into Autodesk Maya as image planes to model from, a simple process.
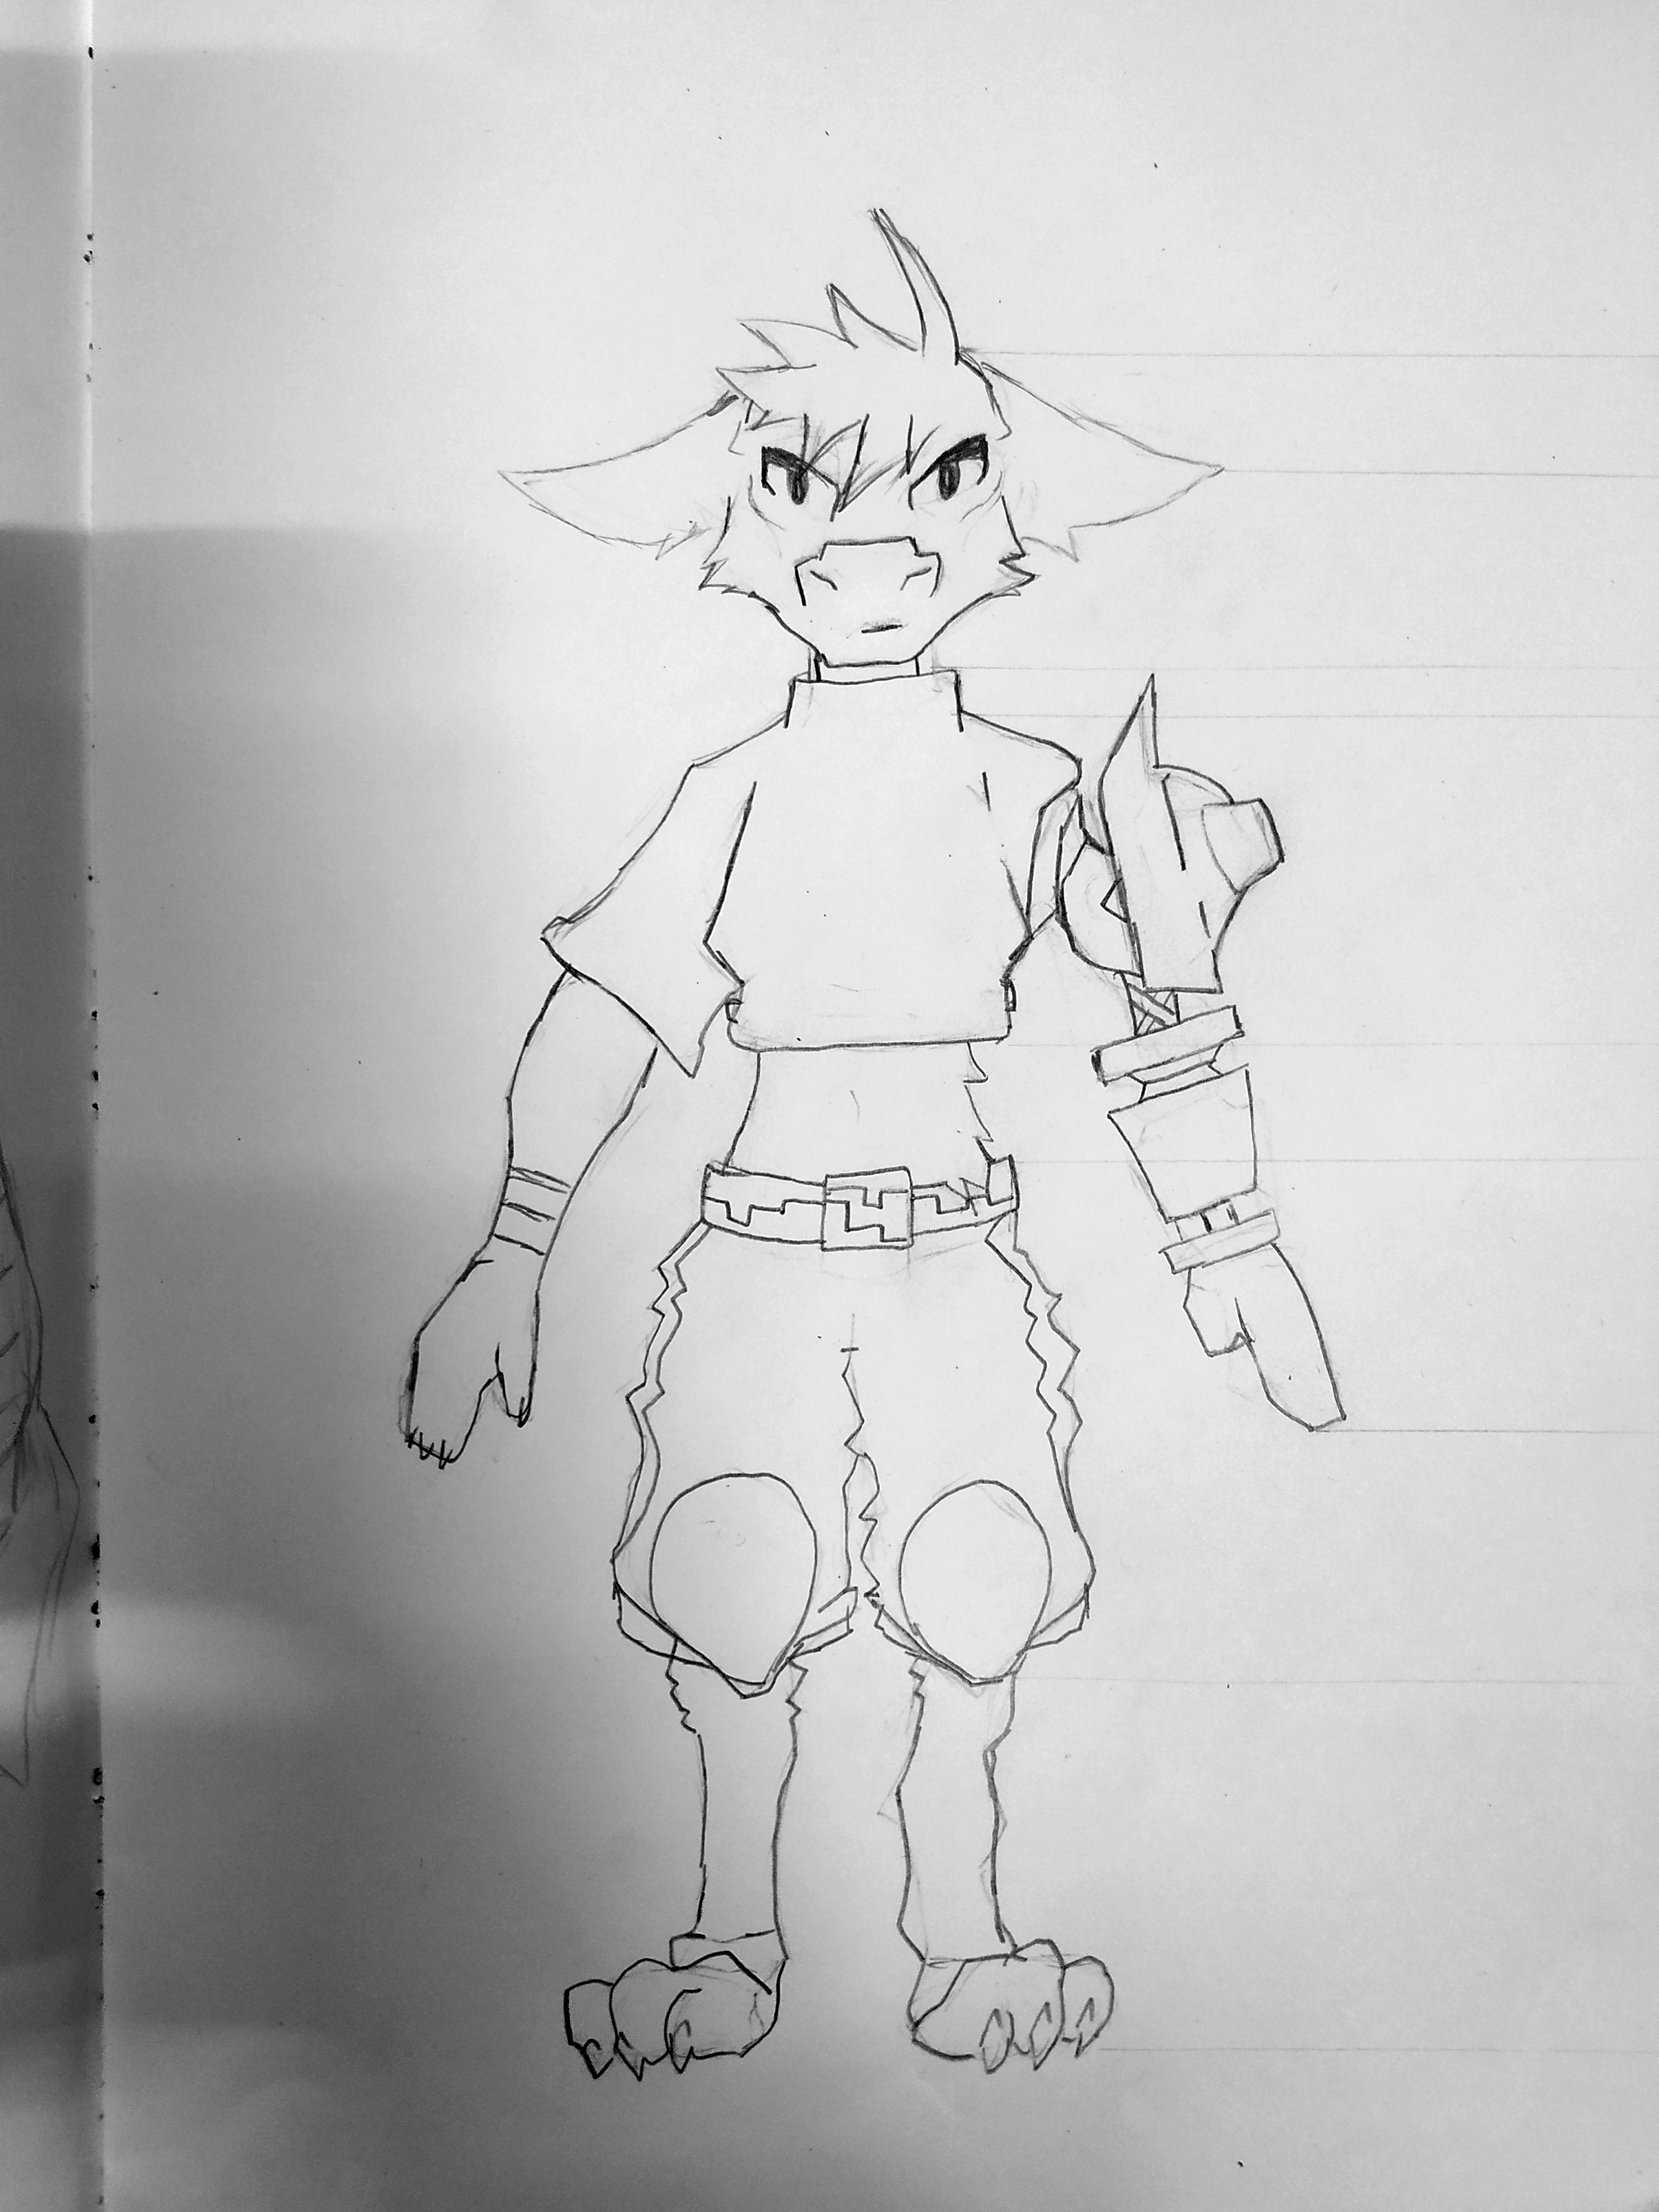 To get an accurate size of the player on both poses, I put my Design & Communication Graphics skills I learned in Secondary school to use, drawing lateral lines across from one pose to the other at appropiate heights.
 Unluckily for me, when I had took these photos of the images, they were misaligned in Maya. Better take note of where I position the camera next time.
In Autodesk Maya
I set the opacity of the image planes to a value of 0.4 to help model over them.
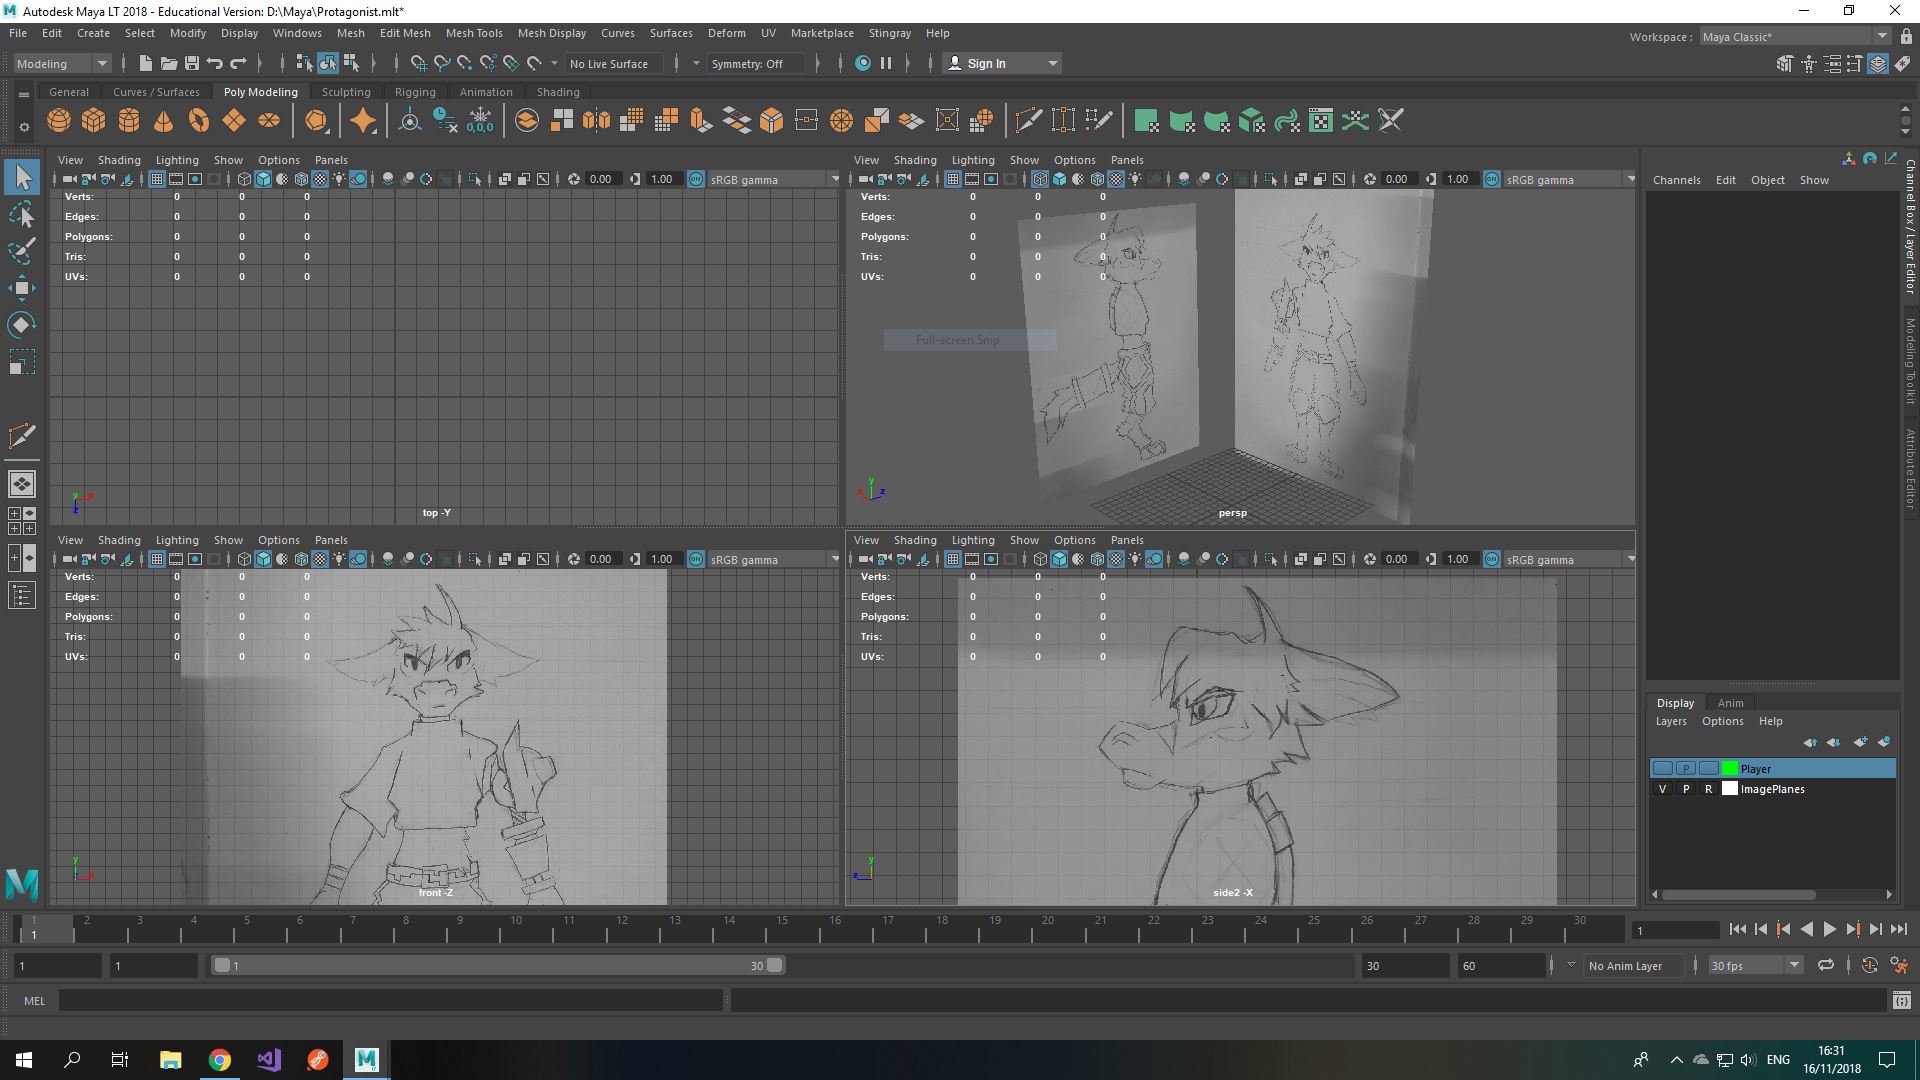
 Whenever I need to refer to the sizes of the player, I use the image planes I created.
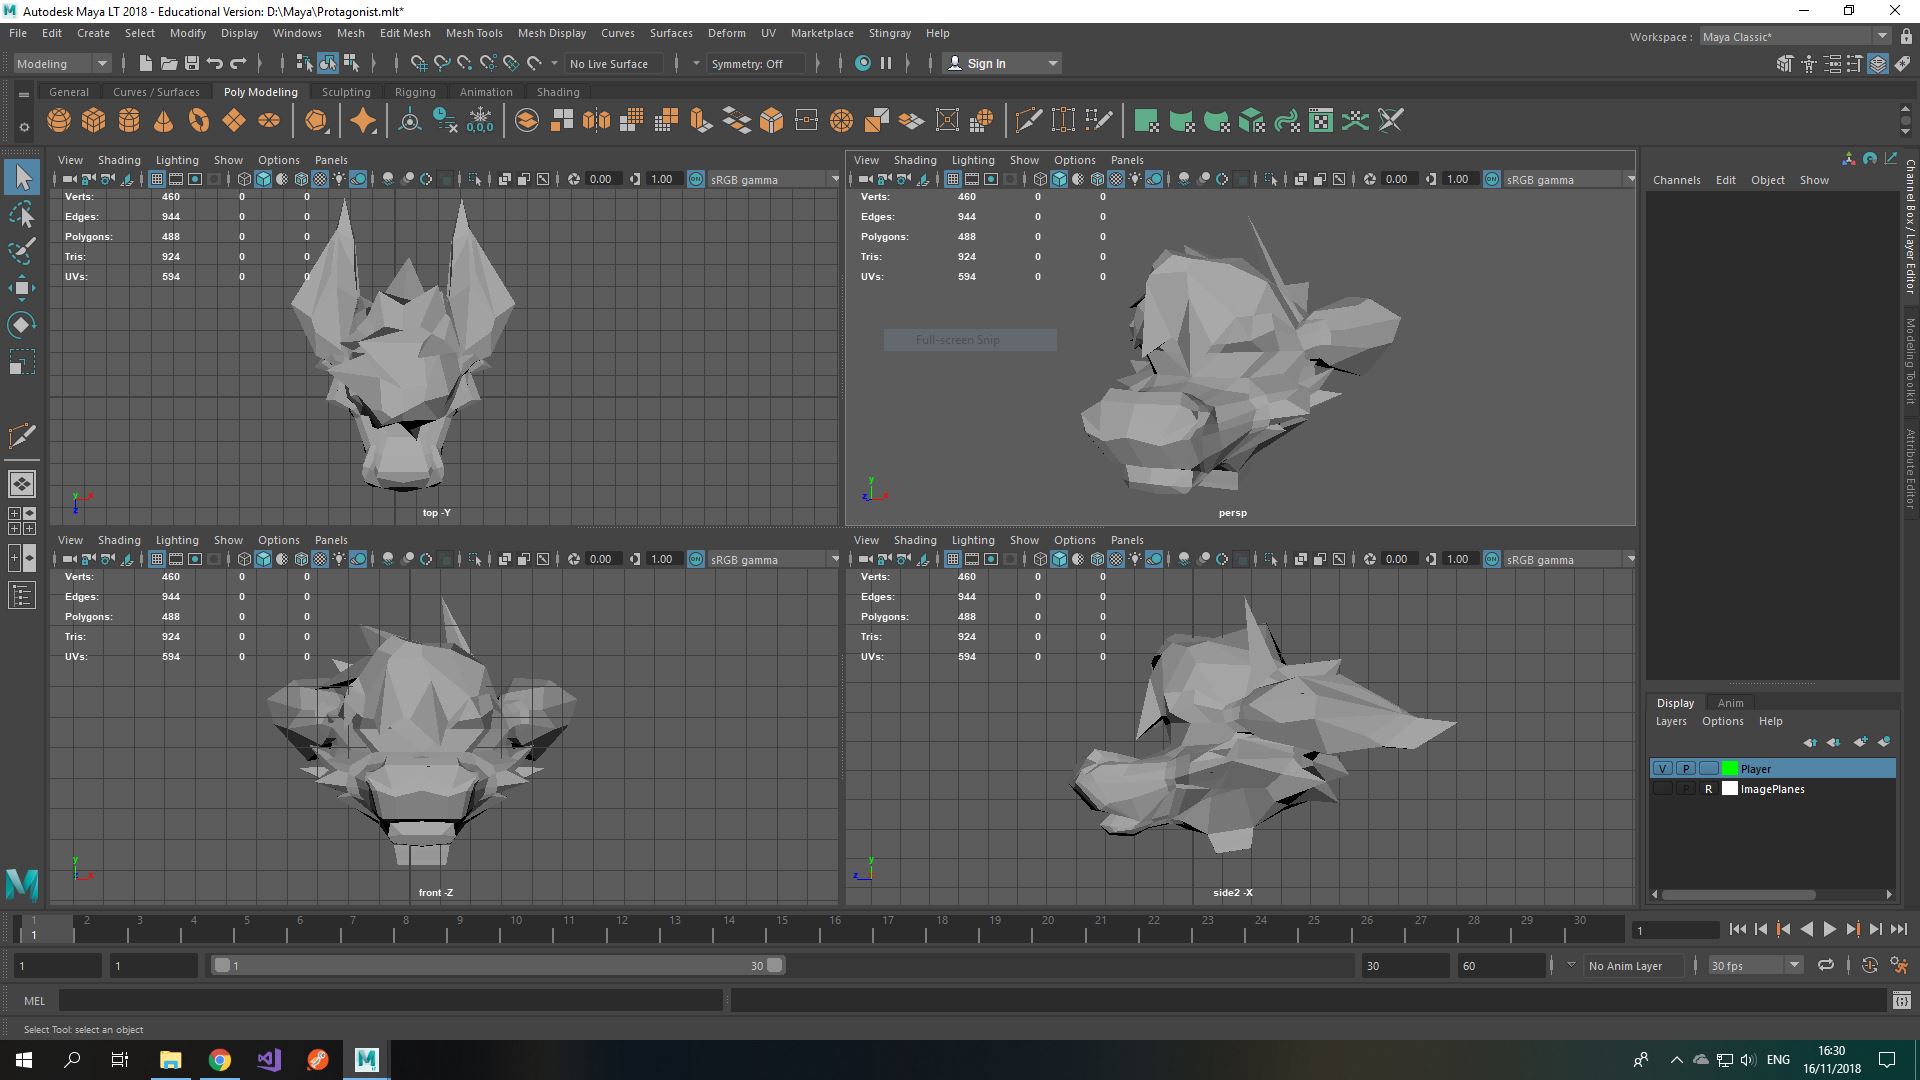 This is the finished model of the head. I went with the design choice of keeping the fur attached to the head. I had looked at how fur is done in anthropomorphic models with flat design including fur and many follow the simplicity of keeping it a part of the same mesh.
Upon Research
I noticed something cool upon researching other anthropormorphic low-poly models. At the texturing process, instead of using textures to shade in areas, they color in the polygons with a material instead to give a very sharp look in shade that would in practice eliminate any use of pixels. It’s very efficient and a demonstration of skill to have the polygons spread in such a way that allows this and no doubt it contributes to its flat color style. I wonder if I can replicate this in my own models in the future.
What I Will Focus On This Week
Tasks remain the same as last week, only that I may plan to use the player model as every character model in the prototype build to ease our time constraints for our presentation. After all, if I animate the player model with its own skeleton, the same skeleton can be used for the enemy player model, along with its animations.
- The original task for this week was to animate the player but I will have to double time it and do both in one week.
- Once the player is created, the following week I intend to implement the code basis for sight-jacking, platforming and grappel-hooking.