Born From A Wish
With our current setup, I have managed to finally get the first draft of our main character modelled in Maya LT. Let me talk you through the rest of the process, continuing from the blog post on 18/11/2018.
Extruding The Body
In order to create symmetry, I used a technique of creating an ‘instance’ of the player’s other body half.
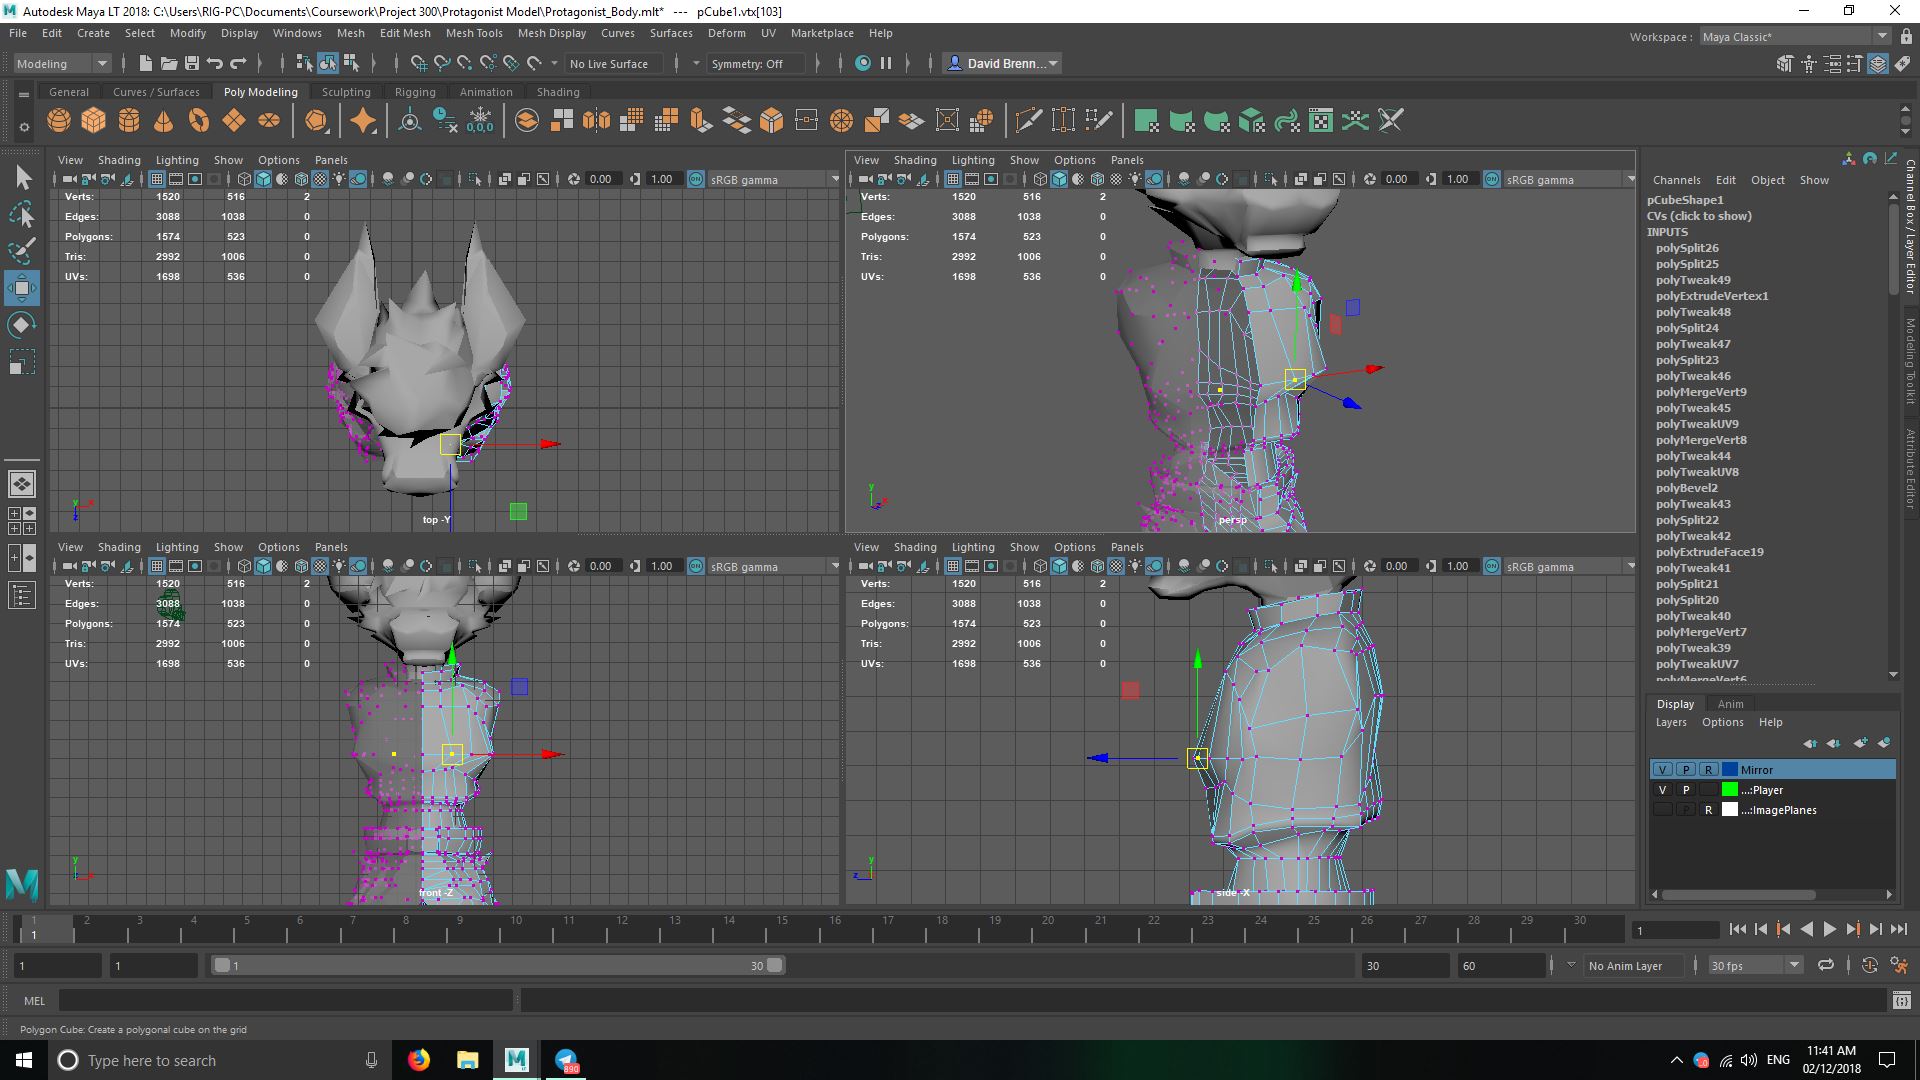 Any changes I make to one half of the model is mimicked in the instance on the opposite half.
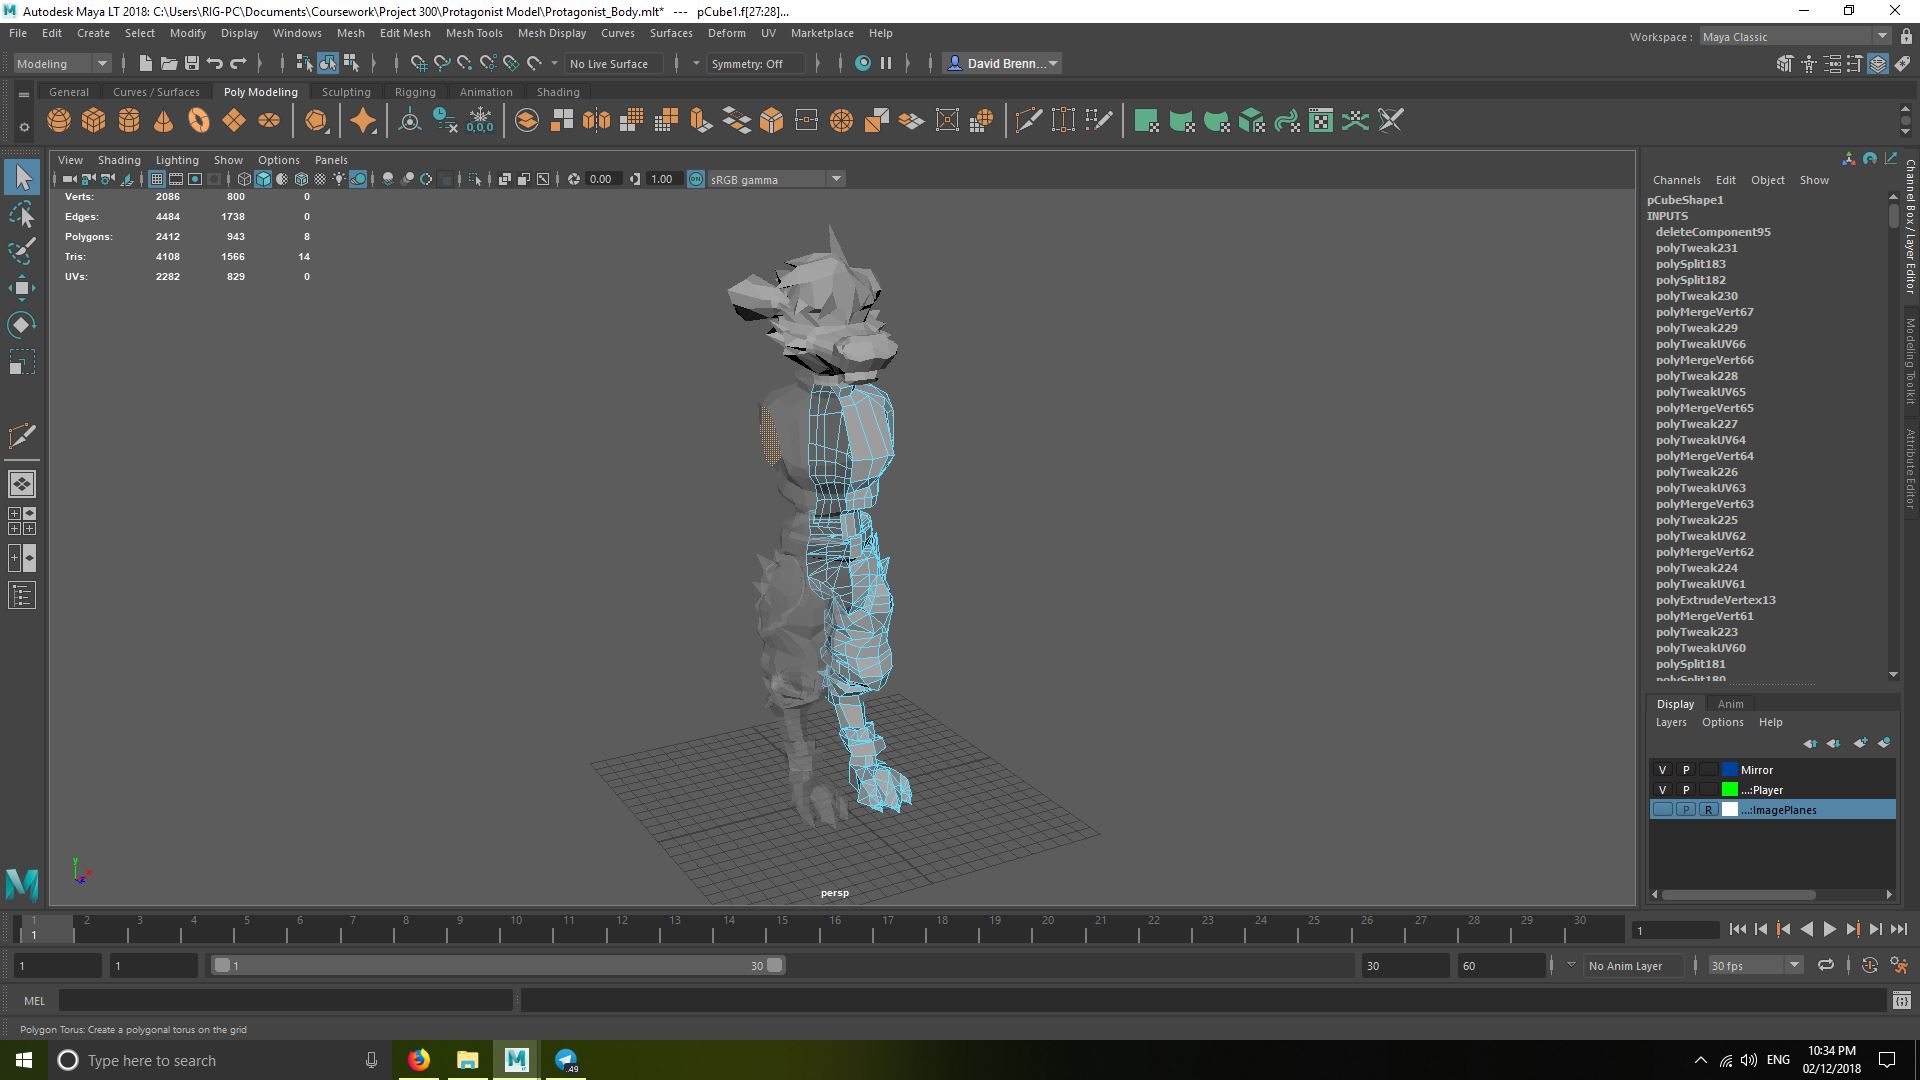 When I have finished modelling one half, I delete the instance of the half and mirror an actual duplicate on the other side to complete the body. Here, I have finished the legs.
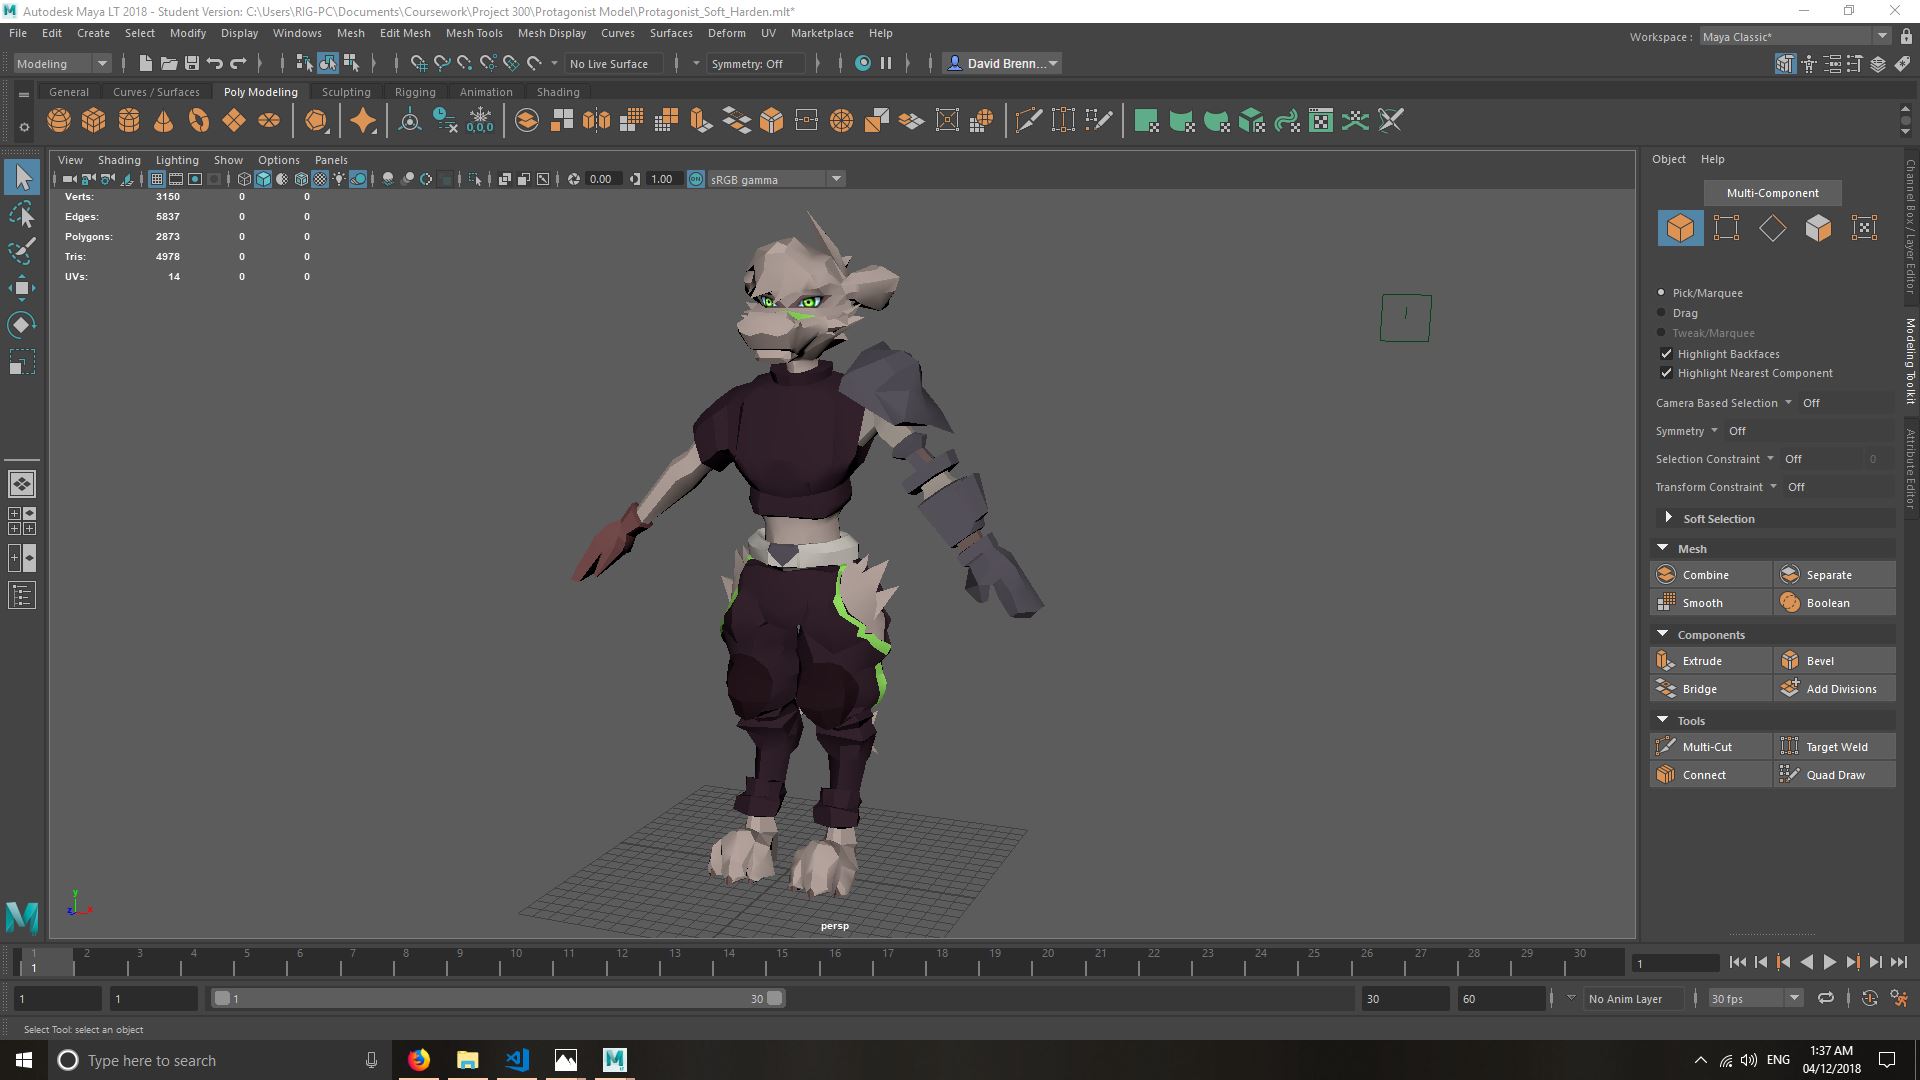
The Finished Mesh
For the arms, I had a look at a few references to help me get the sizes even more precise than my sketch. Unfortunately, I had my arms drawn in an A-pose shape where a T-pose would be more appropriate and will allow for easier rigging later on.
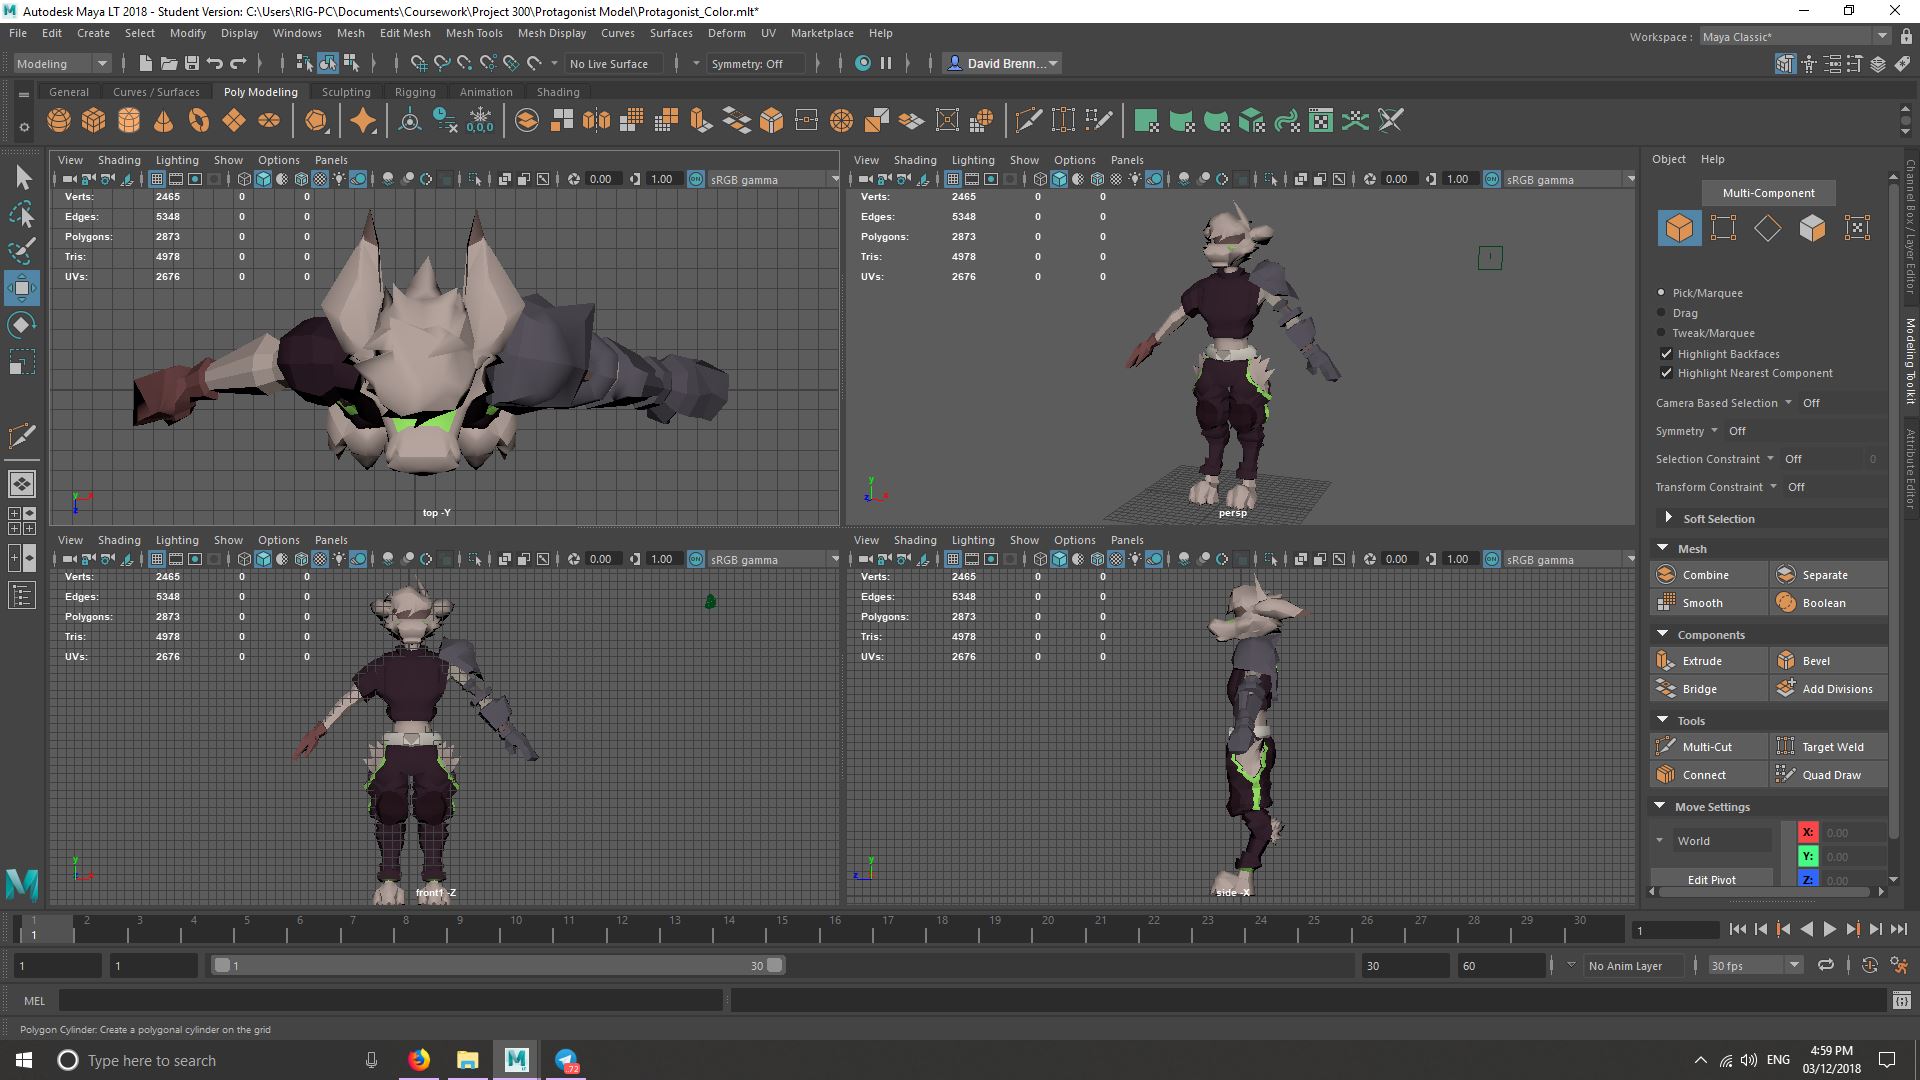 This is the character with its arms attached and colored. As discussed in a prior blog post I am using flat colors instead of textures for a more low-poly look and to allow for sharper edges. The colors here are straight from my 2D renders of the protagonist.
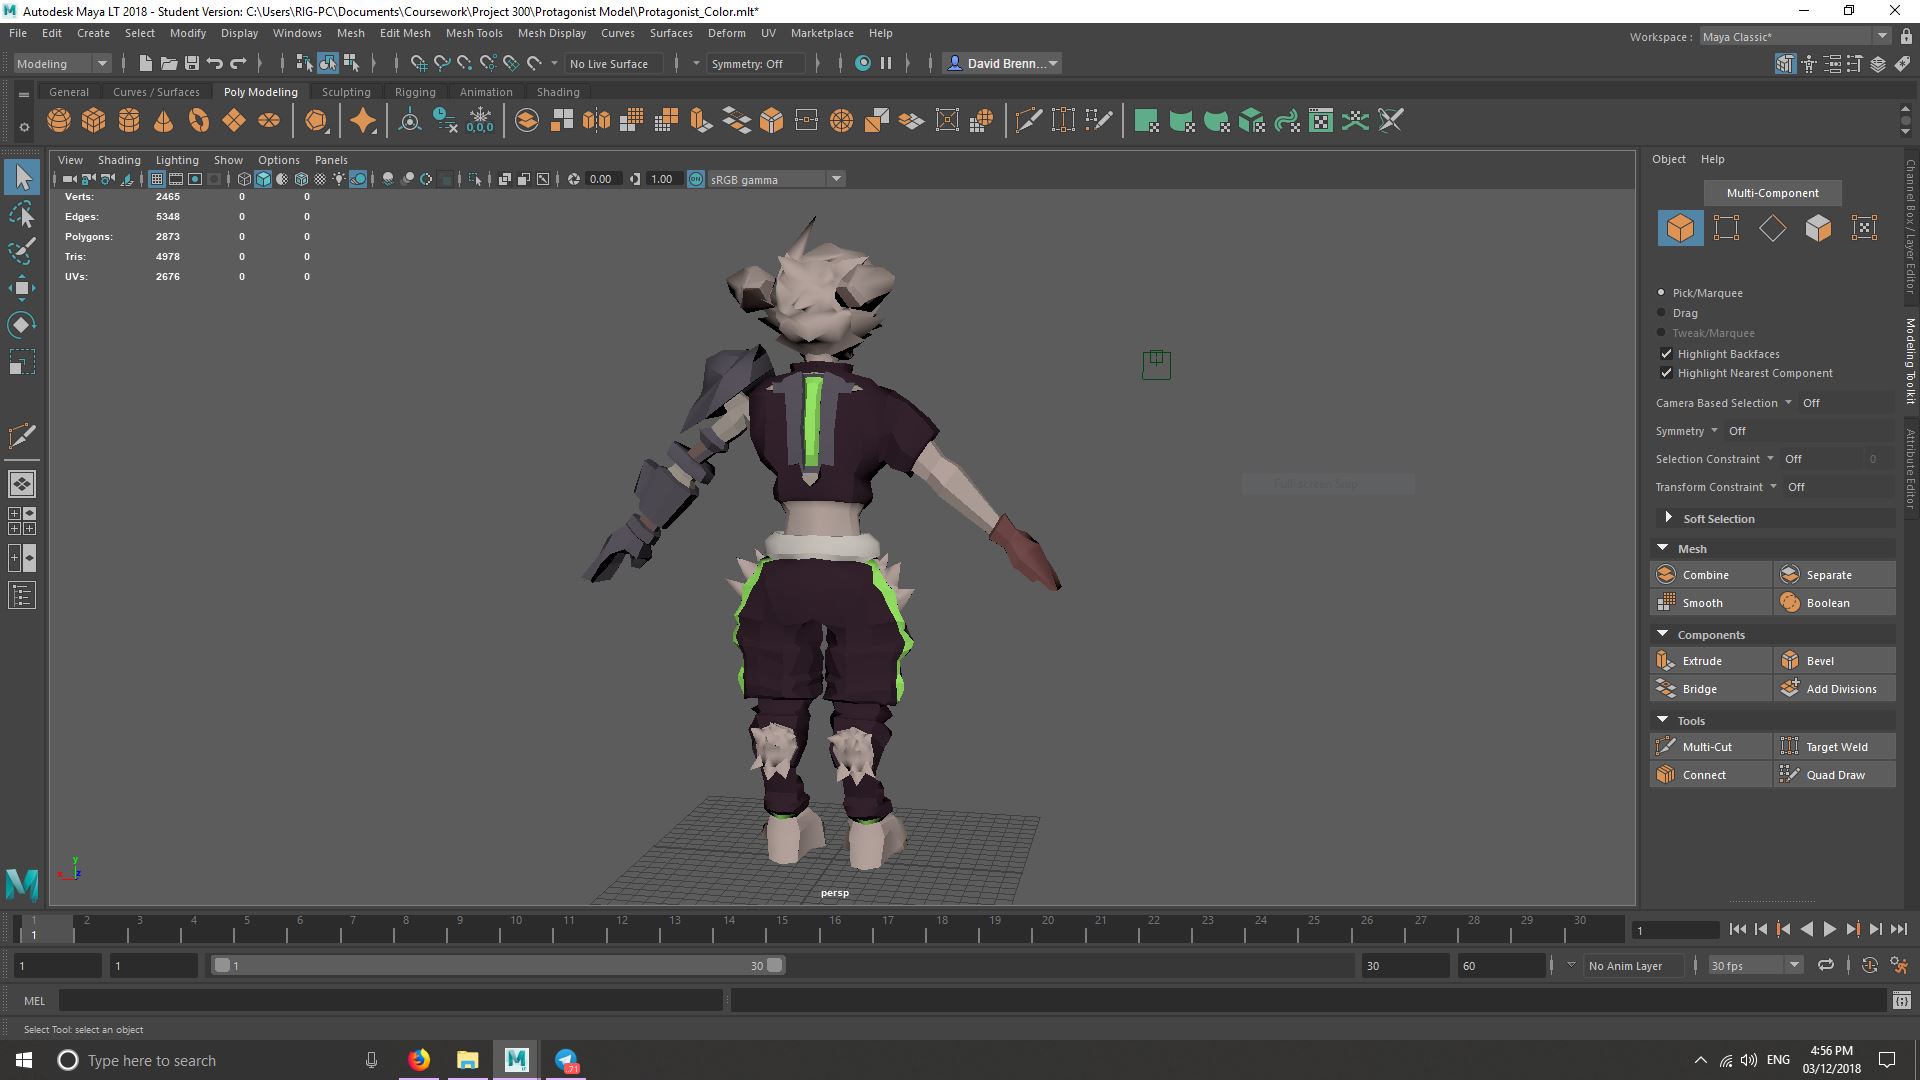 Here I took inspiration from Dead Space in designing a RIG-like system on the protagonist’s back. Perhaps this will display and indicate the player’s health or status.
UV Mapping
For the eyes, I was heavily inspired by older PS2 model aesthetics which have eyes that are drawn on. To me it feels nostalgic, Square Enix used this technique of switching higher and lower poly models, the latter with drawn on features as textures instead of polygons.
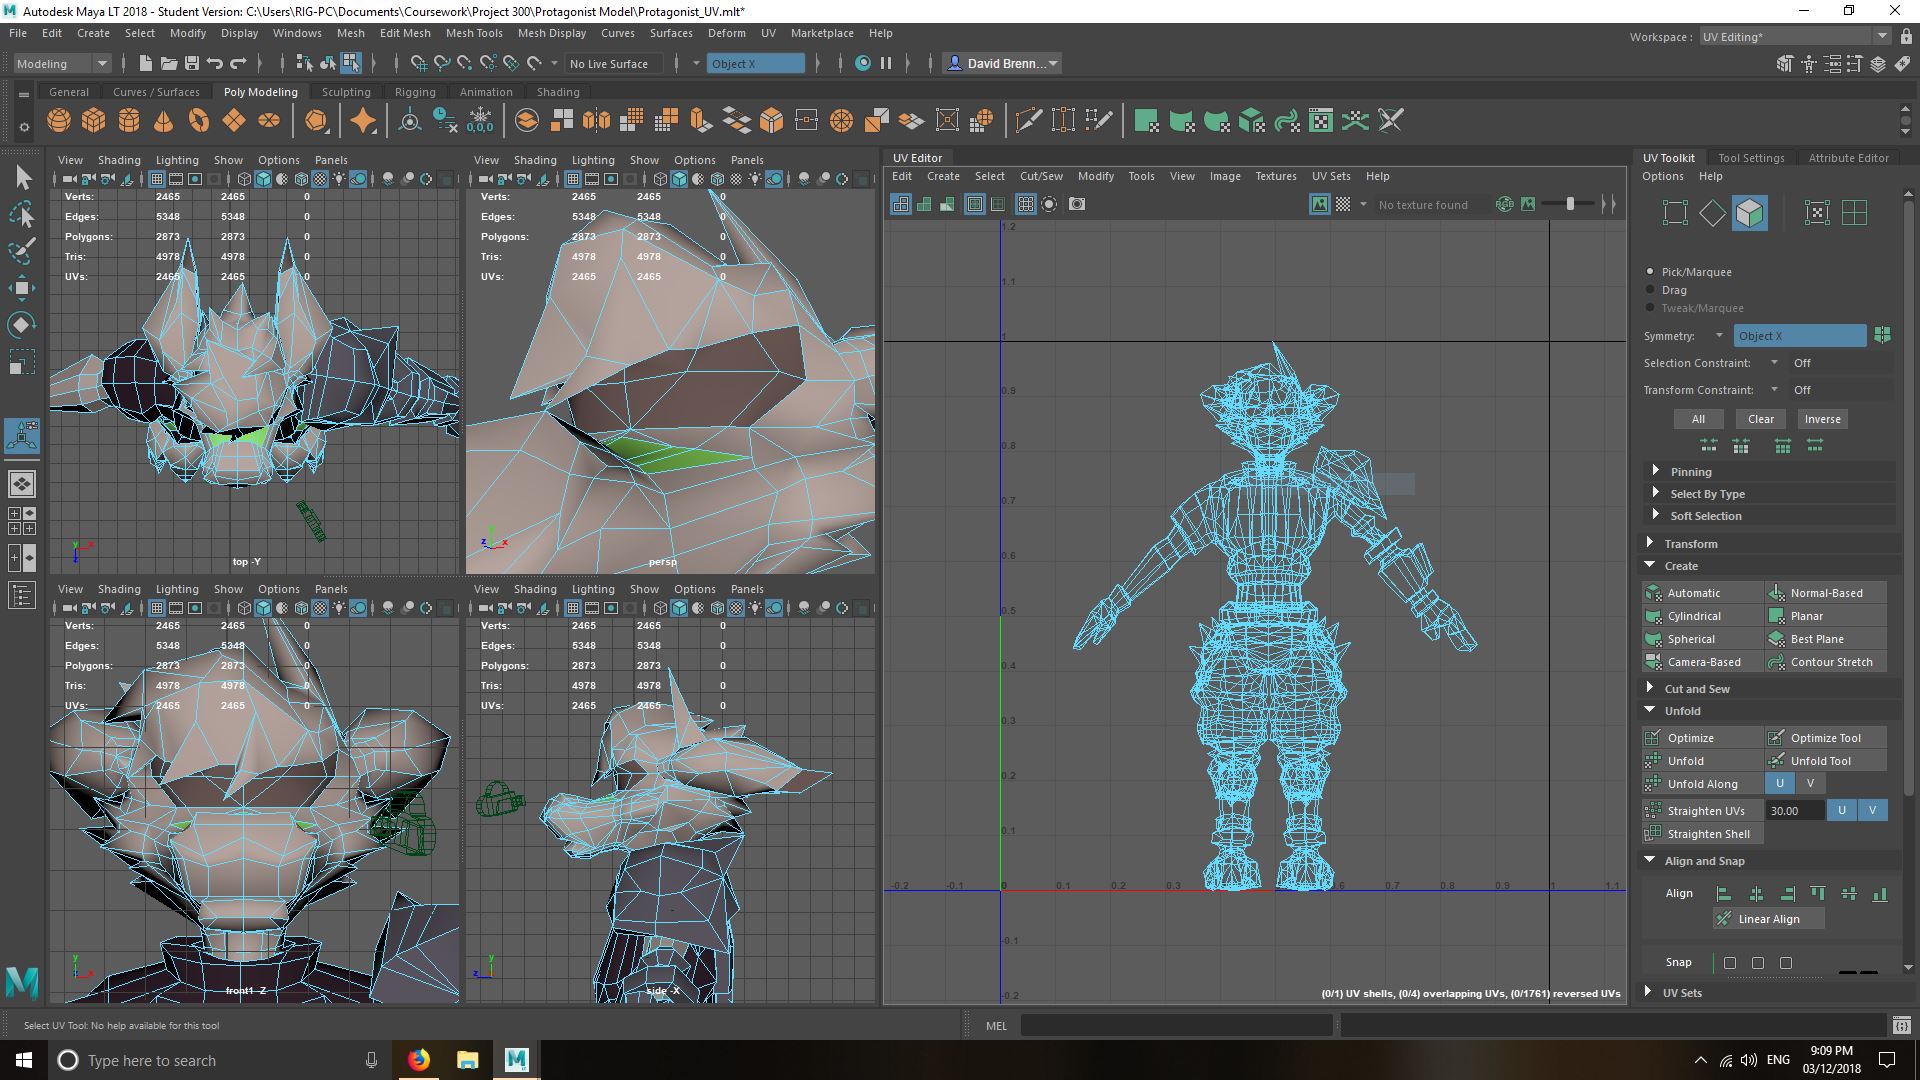 First I go into UV Editing in Maya LT. I then create a Planar of the model in the Z-Axis.
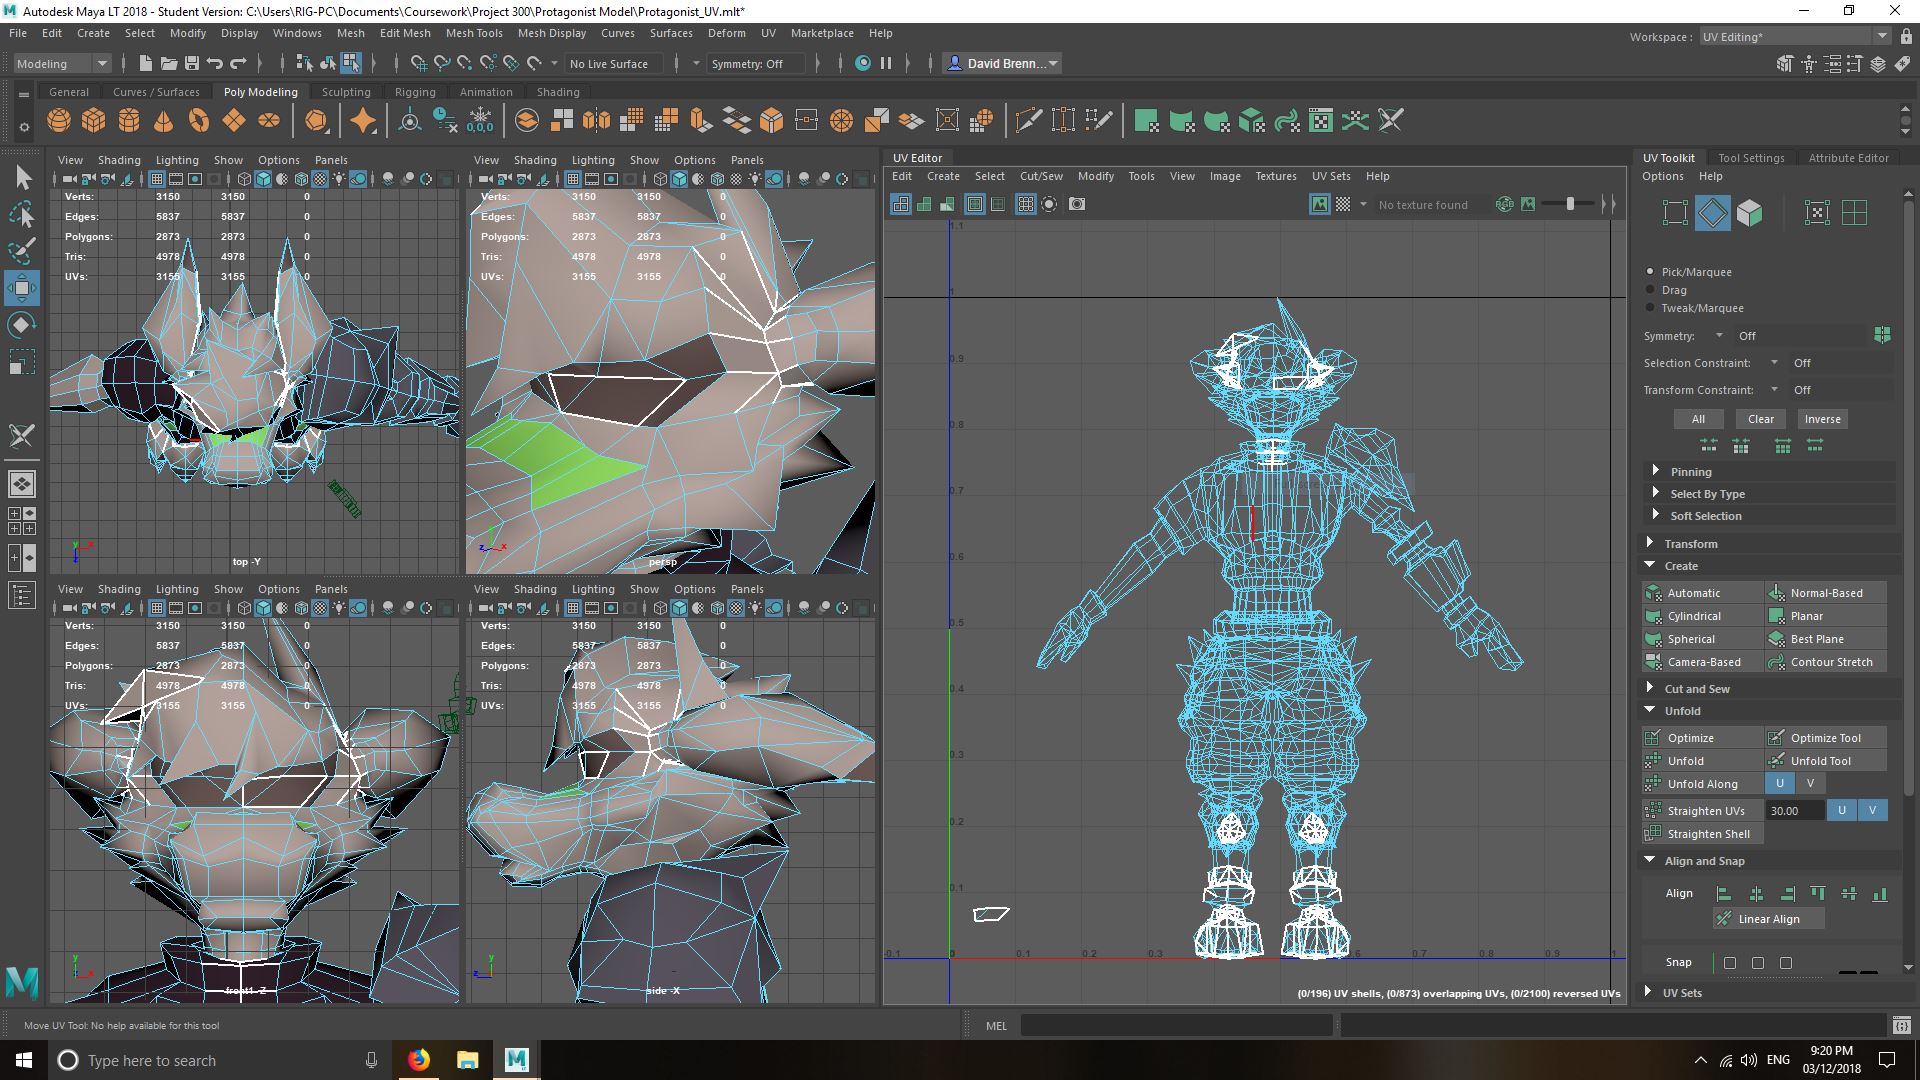 Next I cut out the edges and verts that I will use for texturing, here I cut out one of the eyes. Maya LT 2018 allows you to 3D cut and sow in the perspective view, it’s really neat and useful!
In Paint Tool SAI
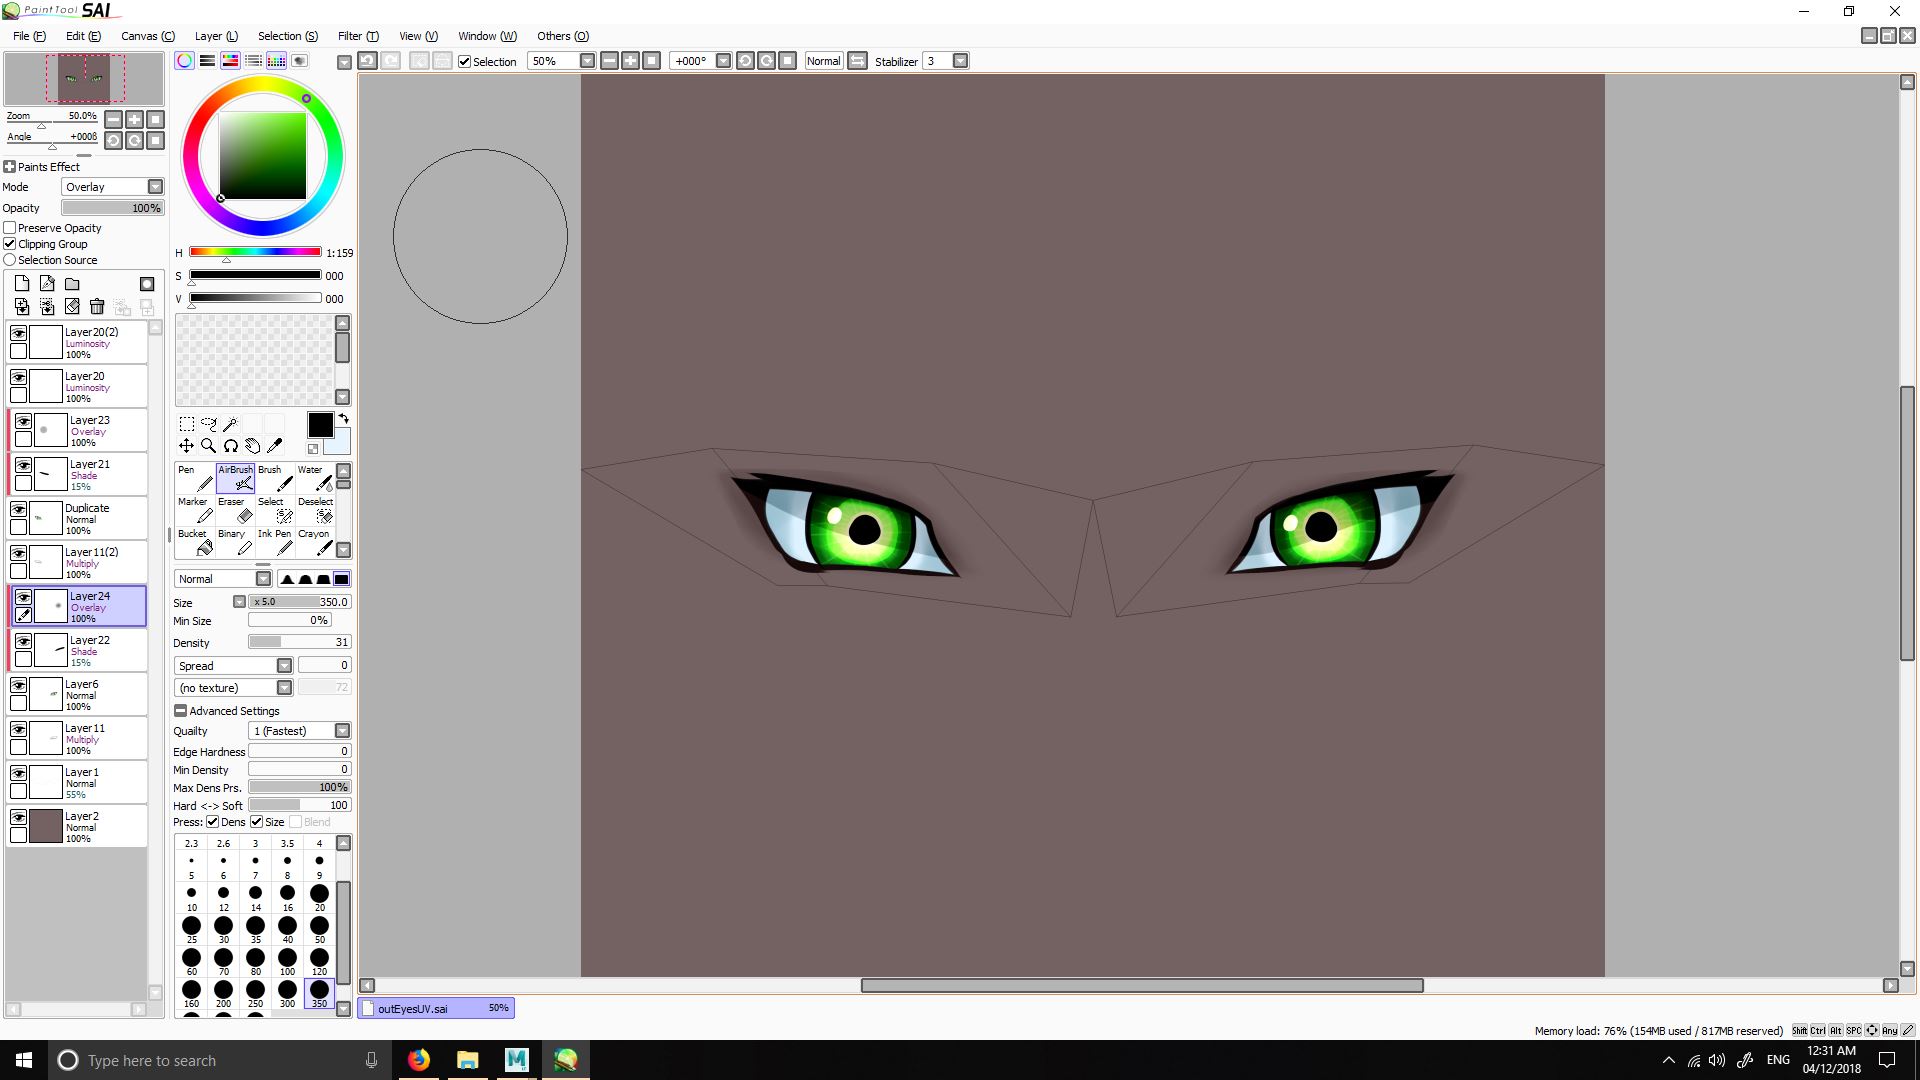 After exporting a UV snapshot, I draw the eyes in Paint Tool SAI using my Wacom Bamboo tablet.
Back Into Maya LT
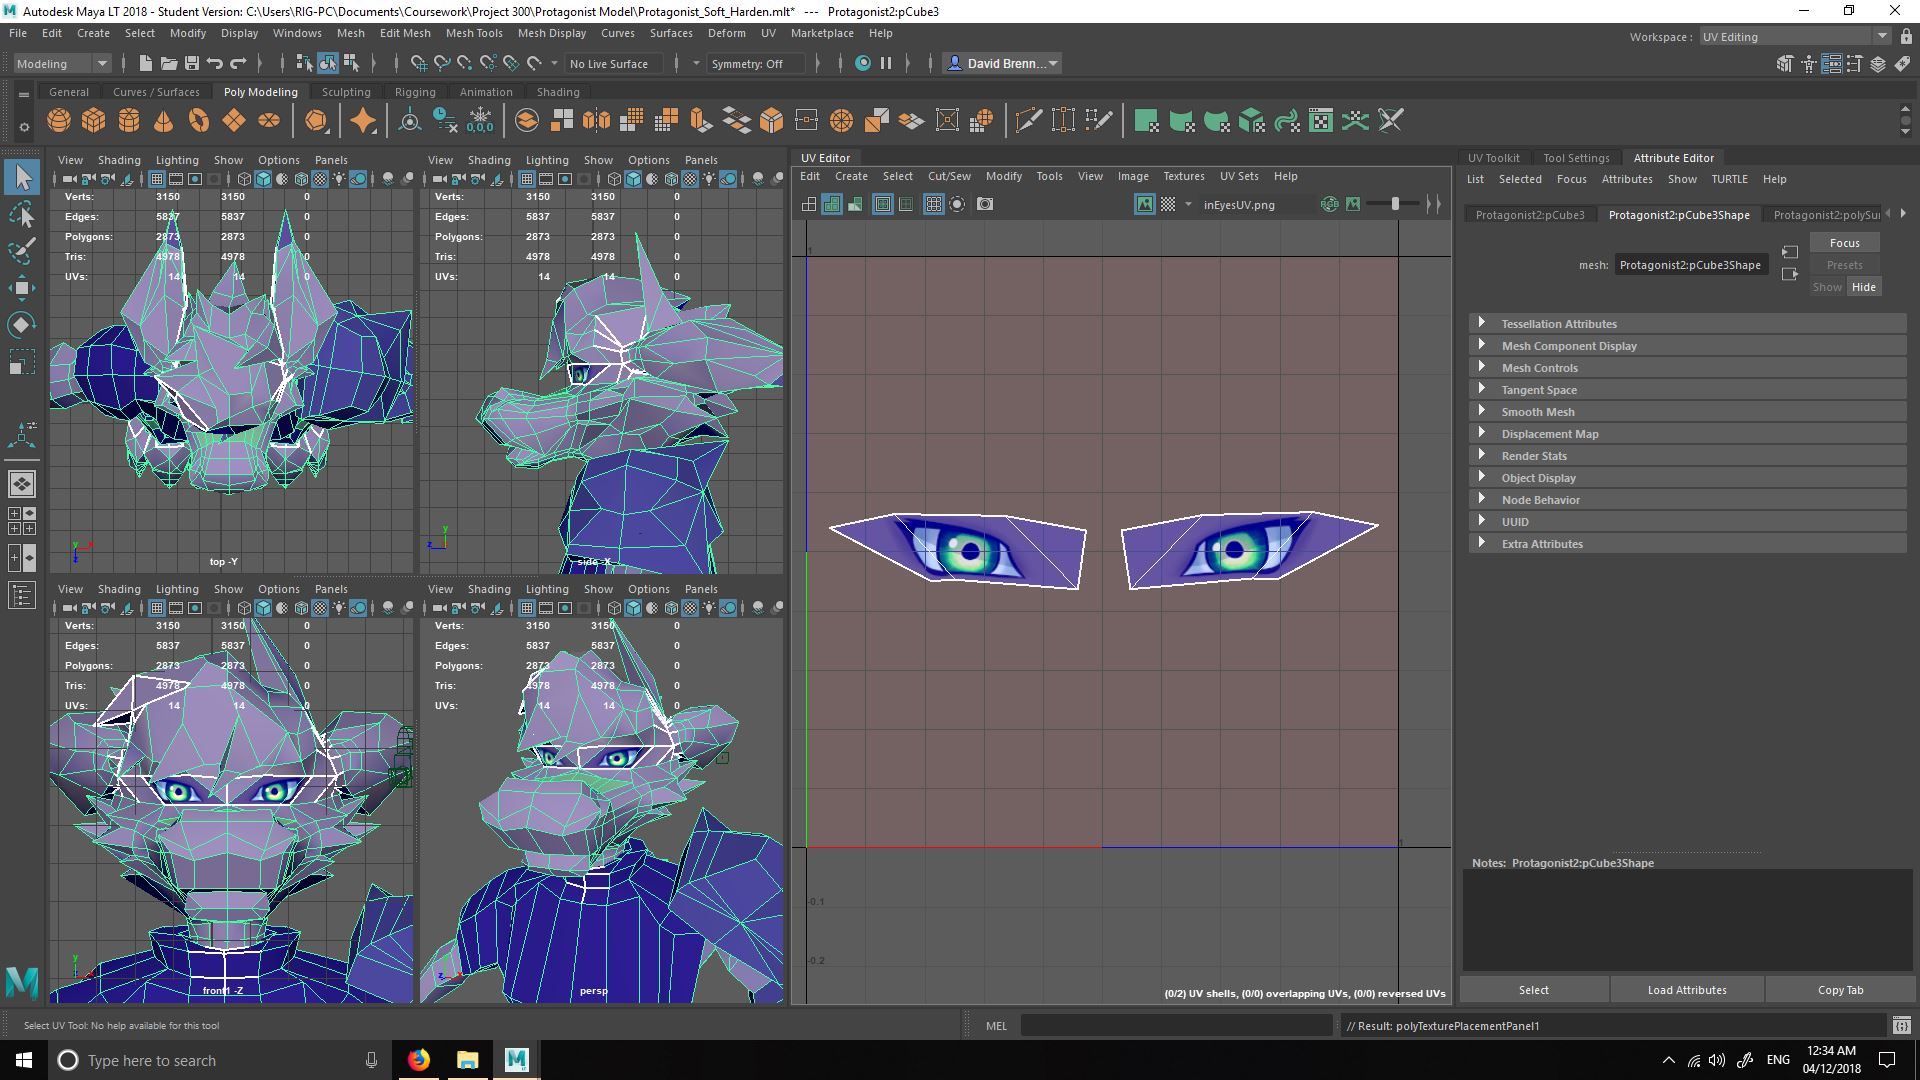 I create a new material and assign the image to the color and ambient color properties. The UV Shells for the eyes then use the newly created texture I made.
The result.