Entry 03 — NavMesh Research
Since my main task for the time being is that of the enemies and their AI, this week I spent time researching Unity’s NavMesh functionality on the Unity User Manual. Unity’s NavMesh allows you to auto-generate a visible map on top of your scene geometry, this map appears as a blue highlight over the ground. Anything covered in the blue highlight can be traversed by the NavMesh Agent you’ve assigned. An enemy in your scene is a good example of a potential NavMesh Agent.
Over the week I read through the entirety of Unity’s documentation on Navigation and Pathfinding. Having read through it all by the 24th I then installed Unity’s NavMeshComponents into our project. These components are necessary for customising your NavMesh, for example, you can set specific regions to be “Not Walkable” or modify them to only be accessible by a certain type of enemy.
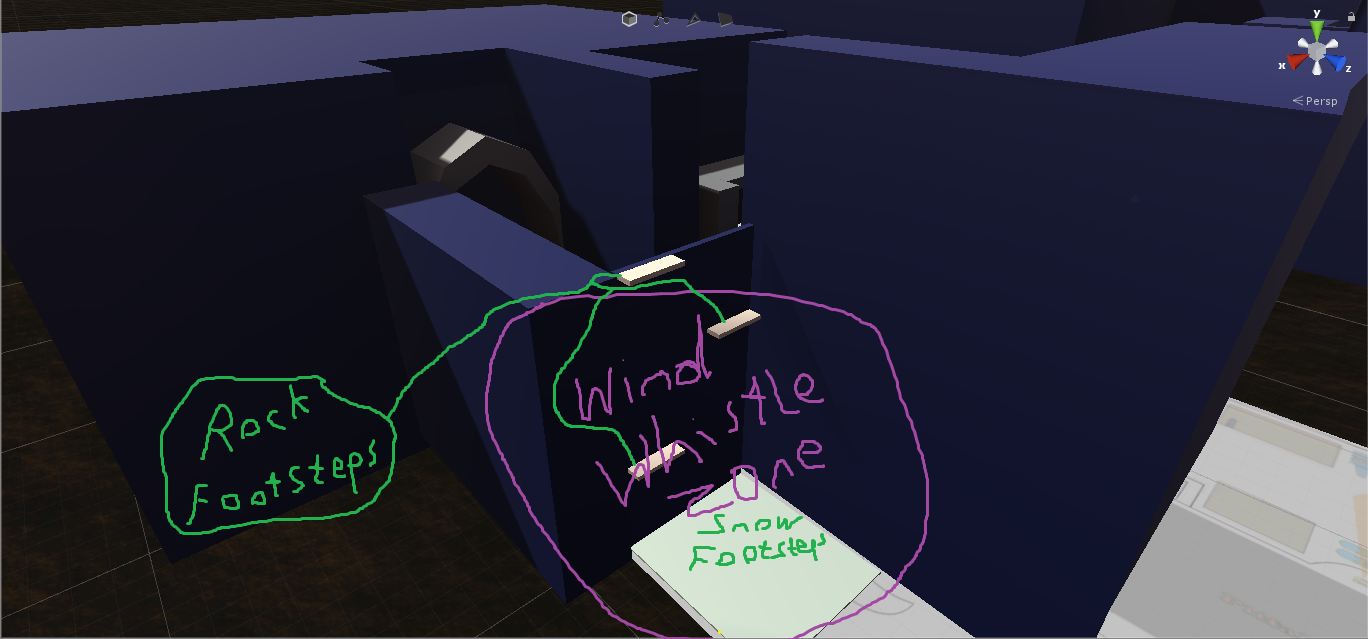
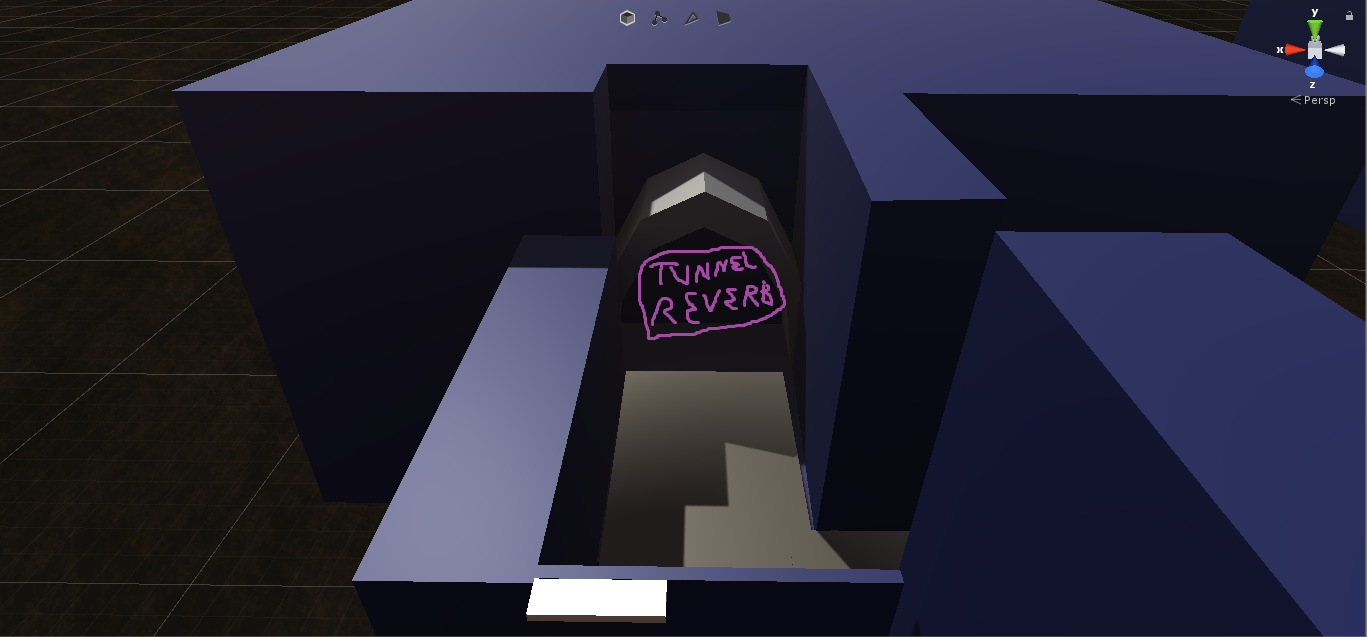
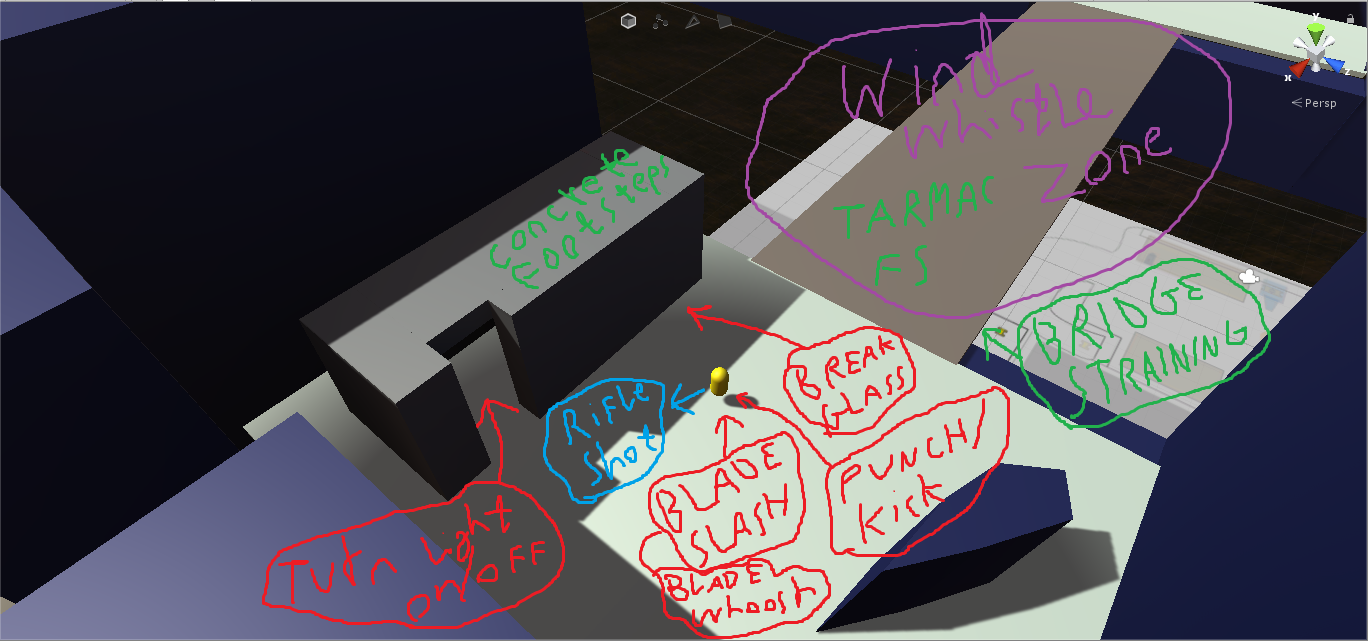
As a quick aside, to help Adrian work on sound effects for the game, I drew up quick “SFX Screenshots” to give him an idea of the sounds needed for the game. Simply put, these are screenshots of the proto-map with directions as to what sounds could inhabit a certain environment in the game. They can be seen below.
SFX Screenshots
- Green - Environment sounds
- Purple - A “Zone” where a sound can be heard continuously
- Red - Player actions
- Blue - Enemy actions
 The sounds that would be heard in the starting area.
 If we decide to add a short route inside this tunnel opening, we could add reverb to all of the sounds heard within.
 The clearing where a number of sounds may be heard.
That’s what I’ve managed to get done for this week, mostly research, since it’s been a busy one.
‘Til next time.