Entry 06 — AI Troubles
This week’s been a slow one in regards to the AI. It’s gonna be a tough nut to crack, but I won’t give up.
One Step Forward, Two Steps Back
When I wasn’t working on other assignments this week, I was sitting in front of Visual Studio tinkering with the enemy AI controller script. As seen in last week’s post, my goals for the AI were to have it:
- Avoid crashing into obstacles and going berserk.
- Look around its surroundings naturally at each patrol point.
- Turn naturally to face the source of a disturbance before moving toward it.
- Look around its surroundings at a source of disturbance before moving back to its patrol area.
I quickly fixed issue #1 by giving the obstacles a “NavMeshObstacle” component, I suppose I just forgot to add it when I was busy baking the NavMesh. After that, I wanted to focus on issue #3 because once I fixed that, the other two issues would fall like dominoes. Unfortunately, at the time of writing, I am still working on issue #3. Just so it’s clear, let me detail step-by-step how I want the enemy to address a disturbance:
- A disturbance is detected in the distance, to the left of the enemy.
- The enemy stops moving, their patrol is halted.
- Just after stopping, the enemy turns to face the direction of the disturbance at an adjustable speed.
- Now that they are facing the proper direction, they move towards the area of the disturbance.
- The enemy stops in front of the disturbance spot.
- They stand still and look around for a moment.
- They turn back and resume their patrol.
A major issue that occurs with step 3 above is that once I’ve told the enemy to stop in step 2, they will not adjust their position again until I’ve set them to be able to move again. Once I allow them to move again however, they will move to the disturbance without turning to face it first. At the moment, I technically have the enemy rotating before they move, but it is not working as intended yet. Sometimes they won’t rotate completely, other times they will rotate to look at the opposite direction. Clearly I haven’t fully wrapped my head around doing this properly yet. In my attempts to get it working I have started working with coroutines, something I have never used before. Having been given advice by my project supervisor, my plan right now is to re-write the script for this behaviour from scratch. I’m going to use enums to assist me and experiment further with coroutines in this new script. With an emphasis on keeping the script as clean and clutter-free as possible, I should be able to understand and implement this functionality properly.
Importing, Bits & Pieces
My plan for yesterday (17/11/18) was to start work on this new script, but unfortunately we were unable to gain access to the lab for the day. This issue is something our team will look into first thing this week as it has proved to be a hindrance to our work. I managed to add in some small things this weekend all the same.
Importing Terrain
Donnacha created some nice terrain for our level this week, so I got to work on learning how to export and import terrain in Unity. After importing the terrain, I found that it was too small for the protomap. My first move was to resize the protomap, rotate and move it into the correct position within the terrain. This was a mistake. Our models were now so small that it would be a nuisance to keep track of them, the camera’s field of view hadn’t changed, the protomap was no longer aligned to X, Y, and Z, etc. After figuring out that I could just resize the terrain, I chose to do that instead and have it adhere to the protomap’s position. Here’s a quick look at the new terrain.
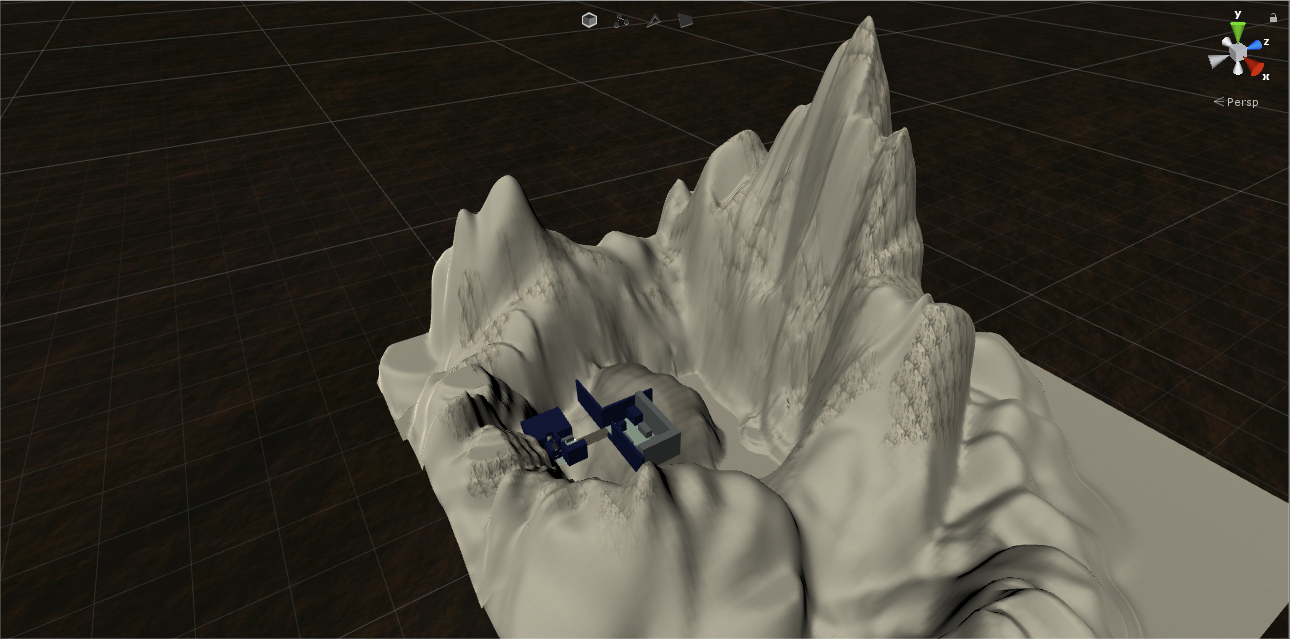 A view from afar of the new terrain. The lighting of the entire scene is certainly not final. Our level likely won’t be set in daylight.
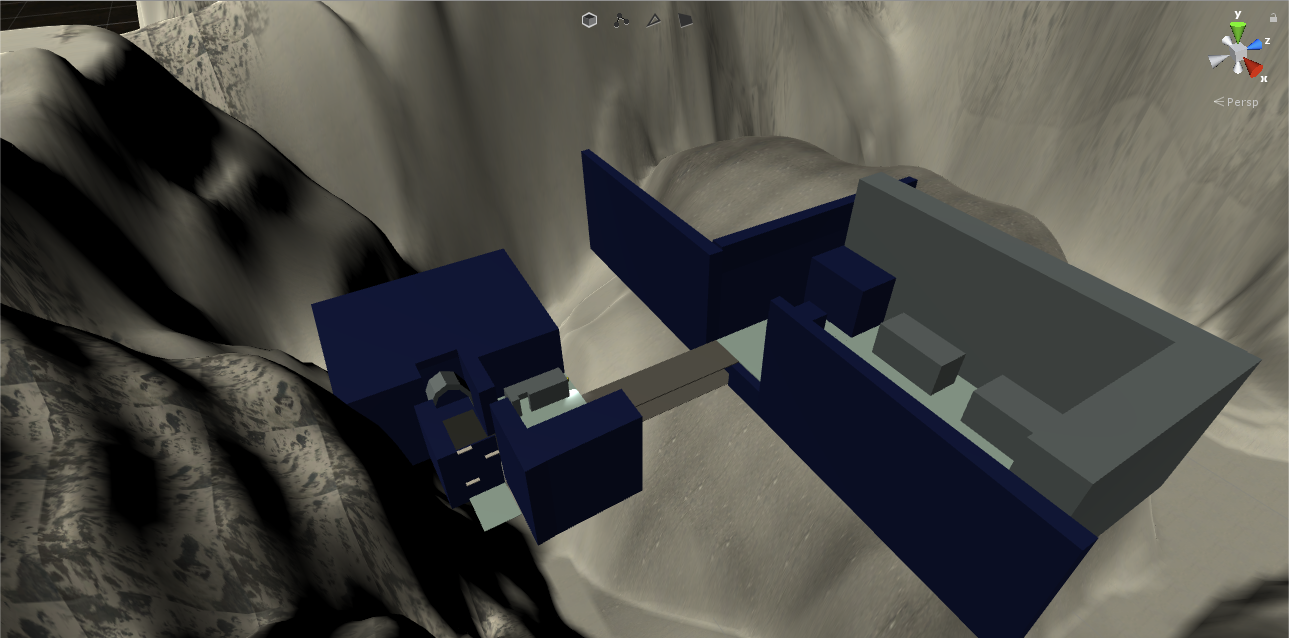 A closer look at how the protomap is positioned within the terrain.
After the terrain was added in, I thought it’d be fun to bring Donnacha’s new weapon model into the scene. Once imported, I promptly attached it to our test enemy. Also, instead of having a light directly attached to the enemy, I instead placed it on the weapon, as it is a more natural place for a light. Work will still need to be done to make the light look more like it is actually coming from the gun’s flashlight however.
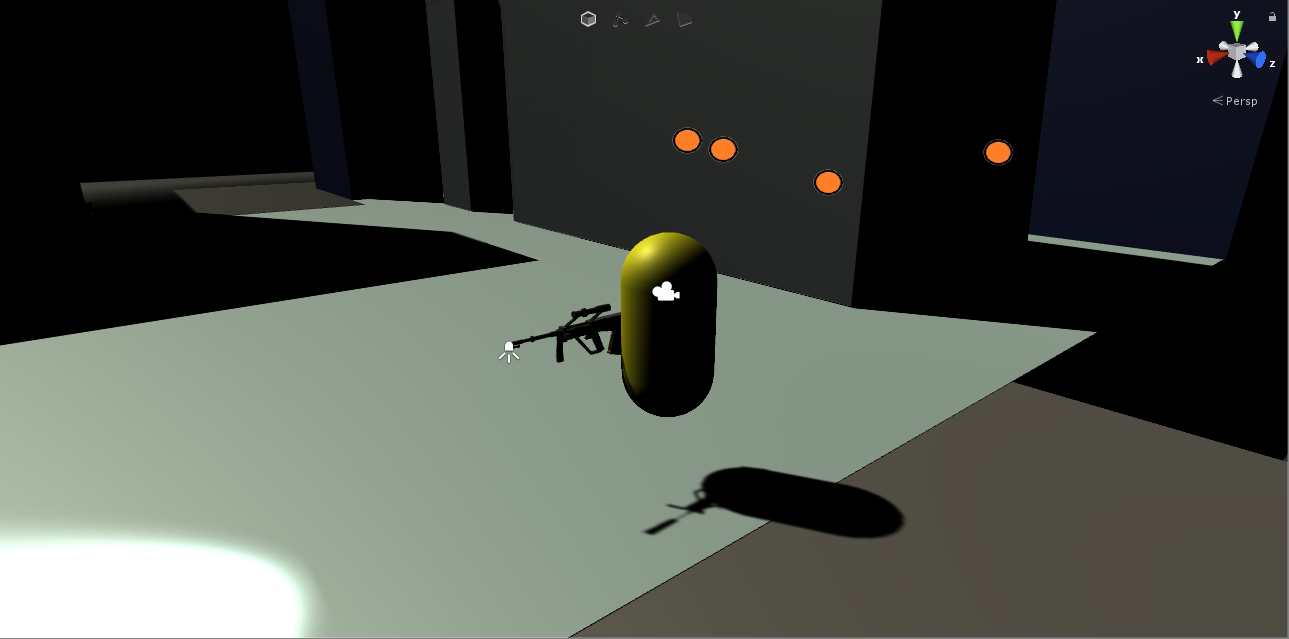 A new weapon for our test enemy, complete with a flashlight.
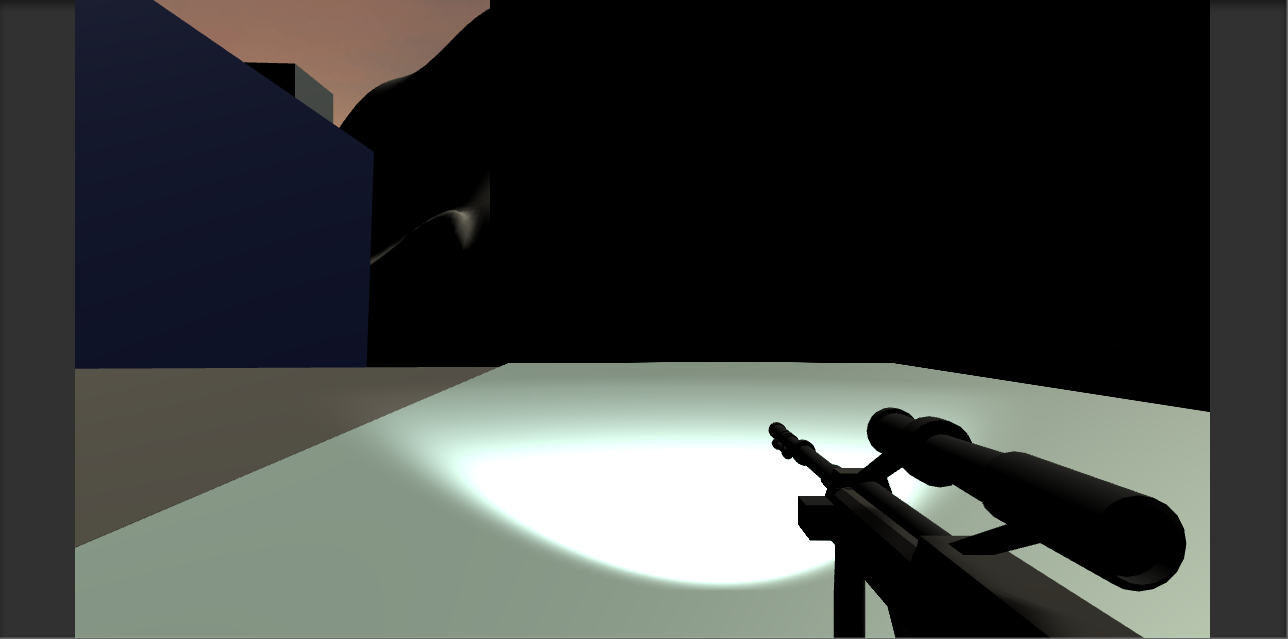
Once I successfully attached the gun to the enemy, I thought it was time to finally give the enemy their own camera, or POV (Point of View) this will be necessary for sight-jacking after all. For now, to test it out in gameplay, you simply toggle it with the space bar. I think it came out quite nicely, though there will undoubtedly be tweaks later on, like adding a view bobbing effect or having the enemy look up or down.
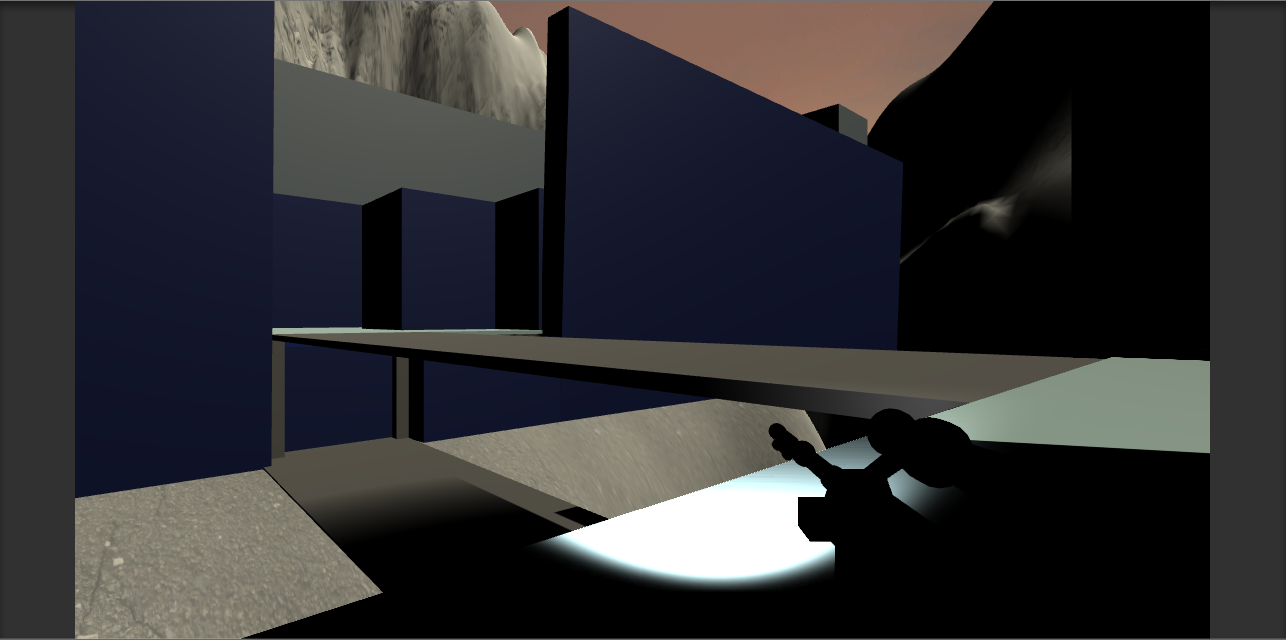 A look at how our enemy perceives the game world. Puts me in the mood for some DOOM.
 A better look at the capsule’s awesome new weapon modelled by Donnacha. It is based on the Steyr AUG assault rifle.
This week, I’ll continue to focus on the enemy’s disturbance investigation behaviour. Once again, wish me (and my team) luck!
‘Til next time.